|
August 29, 2009. Greg Marsden, Unda Maris III, Yankee # 125, sent in a couple of pictures of their recently rebuilt hatches. This seemed a good reason to start this page and maybe eventually get more imput from others on this subject. Here are his photos and emailed comments - minor edits. Webmaster Note, October 20, 2011: Greg sent in more pictures of this project so we set up a page dedicated to it. Click here to go there.
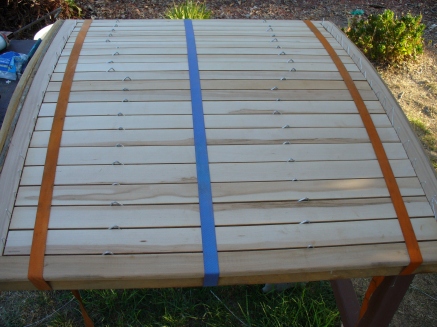
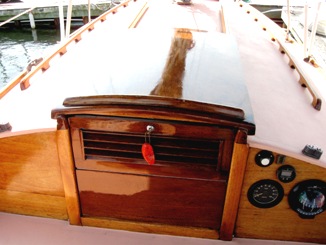
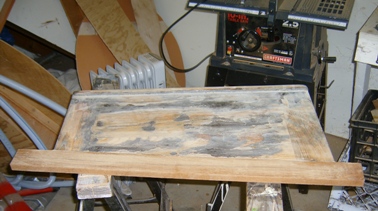
I've attached a couple more photos of the work we did on the boat, reworking the hatches out of hardwood. It's my dad's handiwork here. He took the original teak framing and redid the wood slats with an aluminum backing to keep them waterproof. This was apparently a problem, as the original condition we found with the hatches had several extra layers of tar paper, caulking, and Boat Board over the original hatches!
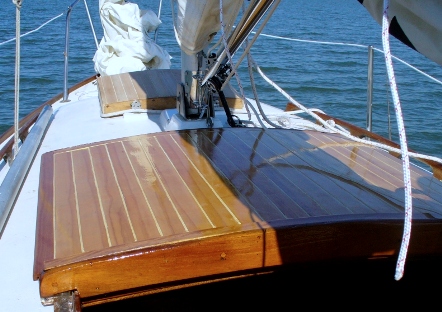
The finished hatches
************************
The varnish on these hatches just 'love' the California sunshine, and maybe a set of covers would be a good idea? Ron Breault's Marionette, Marscot/O'Day # 12 has a varnished main hatch that has a cover that works well for him.
For more on this hatch cover, and covers generally, click here
**********************
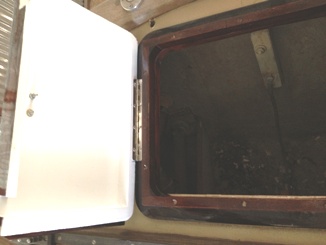
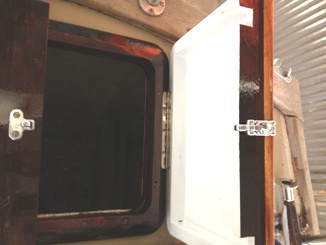
August 30, 2012. Scot Ioset (Prodigal, Yankee #204) posted a comment on the Forum about a leaking forward hatch. This brought to mind the 'fix' Marionette, Marscot/O'Day #12 has for this problem.
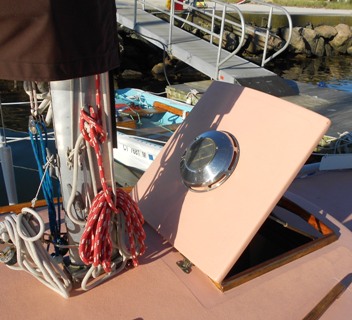
Along the inside edges of the hatch is a strip of white, adhesive backed foam tape which compresses when the hatch is closed. It WORKS!!
This tape can be bought in different sizes and colors in your local hardware store
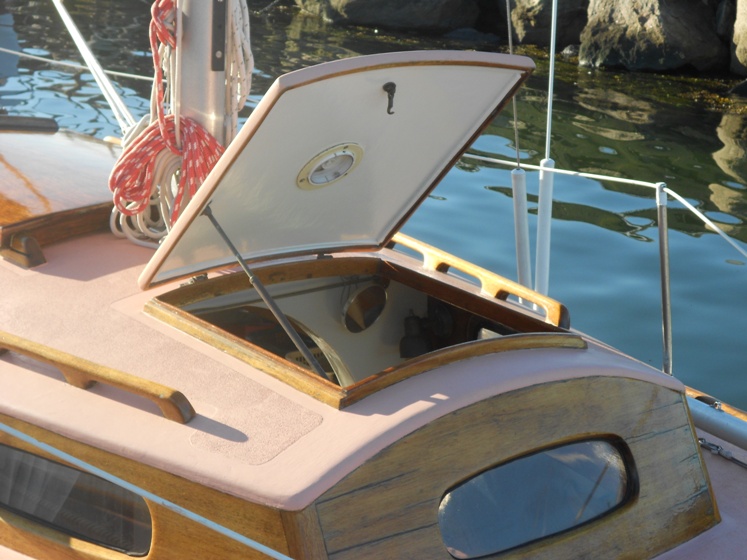
While we are here a couple of comments/pictures about this hatch might be informative. It's a painted plywood hatch formed to the deck house curve.
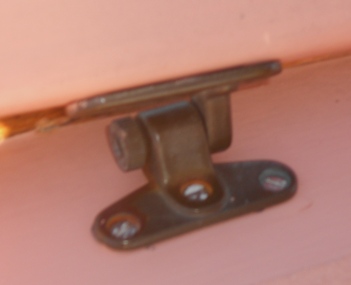
The hinges are the old fashioned pull pin type that allow you to remove the hatch without removing screws. There is a solar powered vent with recharable batteries that run that exhaust fan 24/7. I've had it 15+ years - no problem - one of the most reliable pieces of equipment I've ever had - two changes of batteries over that time period. For more on this ventilation issue click here
***********************************************
December 3, 2013. We found an interesting report from Carl Harrington Yankee Girl Esther, Yankee #89 that had been overlooked and should be here. Here it is
Ron-
I have some photos of my Dolphin #89 I thought you might want to share. I have a few projects I've done/am doing if they are of interest.
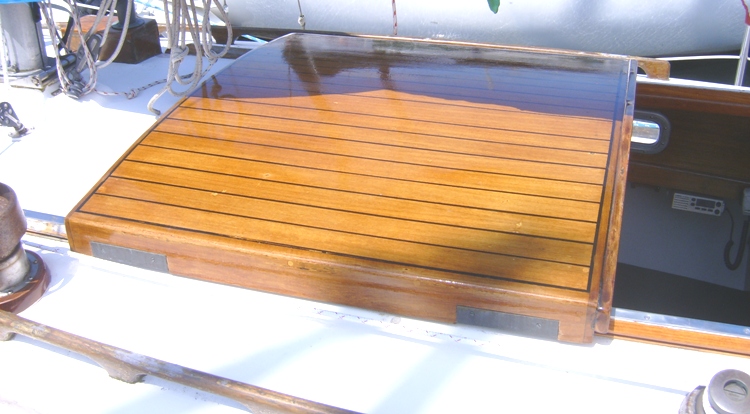
Main Hatch
The original had payed seams. The new one is three pieces of plywood (two with teak facing), laminated together with West System epoxy. I just painted on the seams for looks. I kept the original arched shape by laminating them over a big 2x6 jig. I also made new stainless steel hatch runners, the old plastic ones corroded in the sun. It only cost $14 for the stainless, then $150 for polishing and countersinks (burned the first on out). Then added high-modulus plastic inserts into the hatch to protect the wood from sliding on the stainless. Then I had to add a $50 barrel bolt to keep it from sliding in a bouncy seaway. Funny how projects kind of grow and grow.
|
Lazerette Hatch Repair - Someone put a regular steel screw in the back of the starboard laz hatch, so I had to cut off the back part of the hatch due to splitting, then epoxied on a new piece of teak.
This is a picture of the piece glued on, but not yet trimmed down. The varnish was a mess, so I had to strip it and redo.
|
|
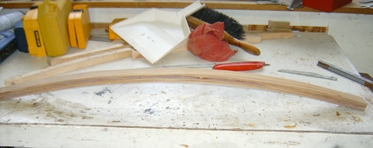
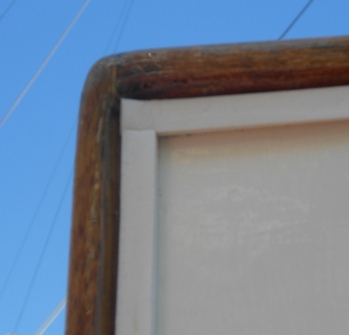
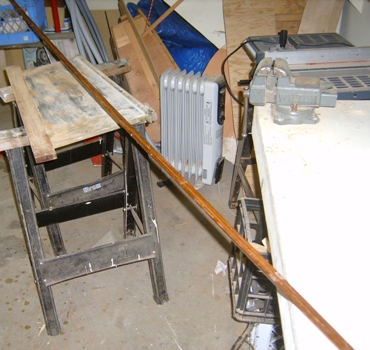
Cabin Trim Bow and Side - The wooden cabin trim on the perimeter of the cabin had worn down to about 1/2" wide by next to nothing thick. And the tricky part is at the front of the cabin, the wood is in an arch following the cabin top. My neighbor, retired shipwright, advised me to laminate the piece rather than cut it from stock and risk splitting with the grain.
The real trick will be making the corner pieces where the front arch meets the horizontal sides. Not looking forward to that part. The side pieces are 110" long x 7/8" x 1/2" teak.
|
**********************************
January 8, 2014. Jerry Slaughter has been doing a major restoration on ROWDY, Marscot/O'Day #5, and we are including his lazarette hatch project here. His report and photos follow (minor edits)
Hi Ron,
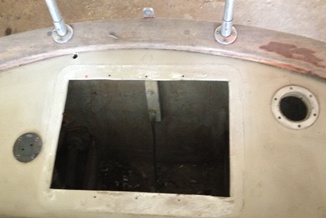
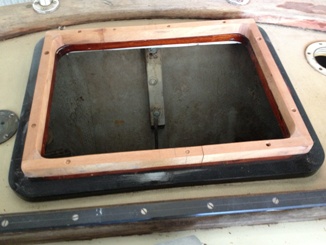
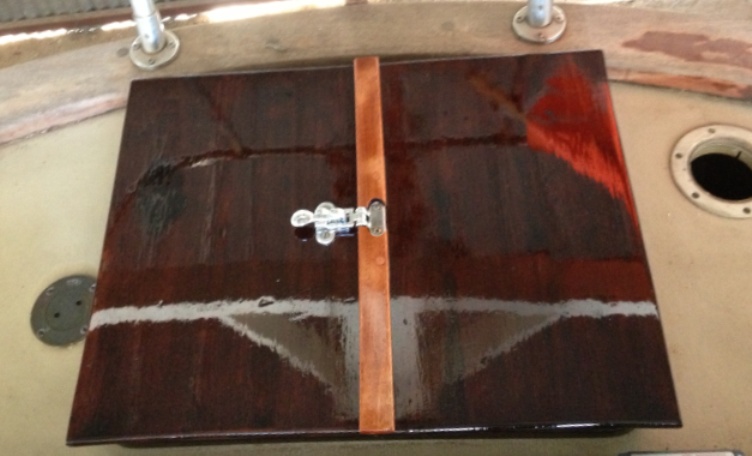
Well today was slow due to the cold temps. I needed to check on something at the boat and took the opportunity to dry fit the lazarette ( I finally checked on the spelling!) hatch.
I used the hatch frame from the Bomar hatch that was on the boat when I got her.
The Bomar plastic was broken in a couple of places and I just didn't like its looks - but the frame was in good shape. I also had an old hatch I had built for another boat but had replaced for some reason. I added a rim to the old frame, cut the old hatch in two and stained (I couldn't get rid of the big stain) and varnished the whole affair. It should do to keep some of the weather out of that aft locker.
**************************
|