|
Replacing or upgrading a Dolphin boom is a project that a restoration enthusiast can get their arms around. They are light, even the old solid wood booms weighed only 25 lbs, they are a manageable 12' long, and have lots of interesting little parts that you can often find at marine consignment stores. Booms are really over stressed by their owners' too frequent uncontrolled jibes, and waiting too long to reef. They want to break especially at the vang fitting, and at the gooseneck, and the outhaul system jams or its control line chafes and breaks.
This section will start with the stories of 3 Dolphin booms. Others have provided additional information. The old saying that you must know where you have been to know where you going is in the genes of this website so here is the original solid wood boom that was on Mike Gooch-Breault's Passage when she was acquired in 1999.

This varnished beauty is 31/2" diameter, solid round wood (Spruce?), with bronze and stainless fittings, is 12'5" overall length and weighs 25! lbs.
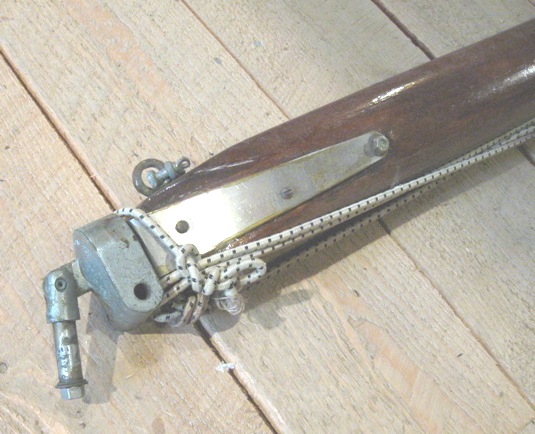
This is the gooseneck with its roller reefing fitting.
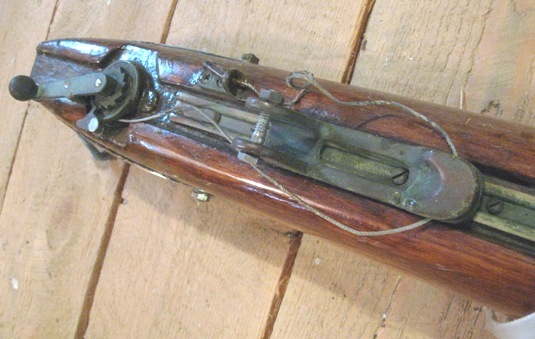
This is the bronze outhaul fitting with its little wheel and hand crank. Its parts like this that must inspire restoration projects to insist on on the original parts. It can't possibly work as well as Marionette's system, especially while standing on a slippery transom hatch in a nasty building breeze and chop, cranking out the outhaul. But, it is a thing of beauty.
Son Mike and your webmaster have discussed, over the years of Passage's restoration, whether or not to stay with this boom. I have started building a 'new' aluminum boom from a longer, heavier section boom I found at the Marine Salvage store in Wickford, RI for $25 bucks. More on this project later.
**************************
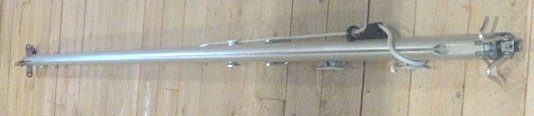
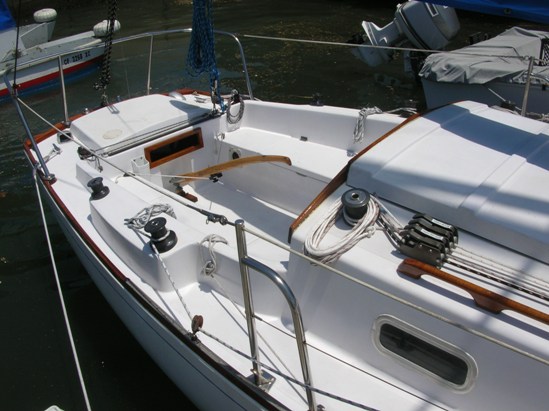
This is Marionette's boom.
This is the gooseneck fitting 'bolted' to the mating part on the track slide fitting. The reef horns I found in a marine salvage place for like $1. They rotate fore and aft and are a natural for hooking the reef tack grommets in the luff of the mainsail.
This slide track car had to be repaired at one point, and the track that this car rides on also had to be replaced - these events are covered in some detail on another page.. Click to go there.
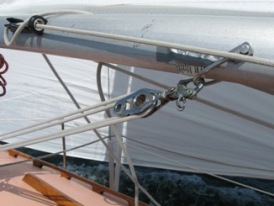
The outhaul fitting block is inside the boom extrusion. The fitting is fastened in place by those 6 rivets, 3 on either side. The ss wire has a shackle that attaches to the clew of the mainsail. The other end of the wire in the boom is part of a 3:1 wire/rope/block system with the working end coming out of the boom on the port side a about 4' back from the mast (next picture). The padeyes and blocks on the side are the reef line blocks and eyes. The black band is the black band.
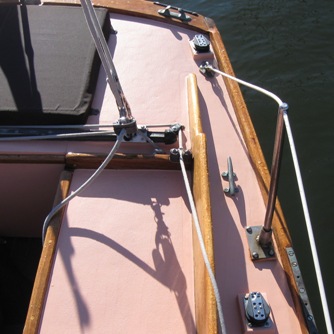
The tang at the end is for the topping lift (block) and for the main sheet. The topping lift system is a ss wire that ends in a thimble fitting at about head height when standing on the seat or transom deck. A small 2 block system with a 1/8 'unbreakable' line reeved connects the thimble to the block on the tang. At the dock the line is secured to make the boom more or less horizontal. When leaving the dock, the line is eased to drop the boom to where the main, when raised, would hold it.
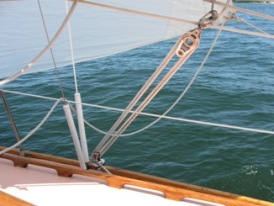
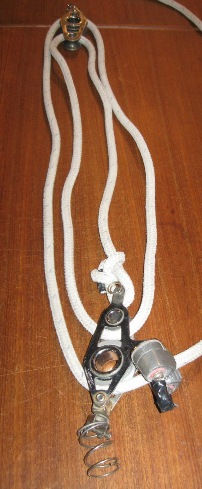
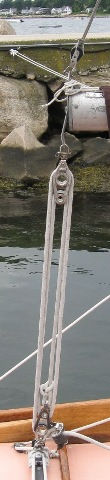
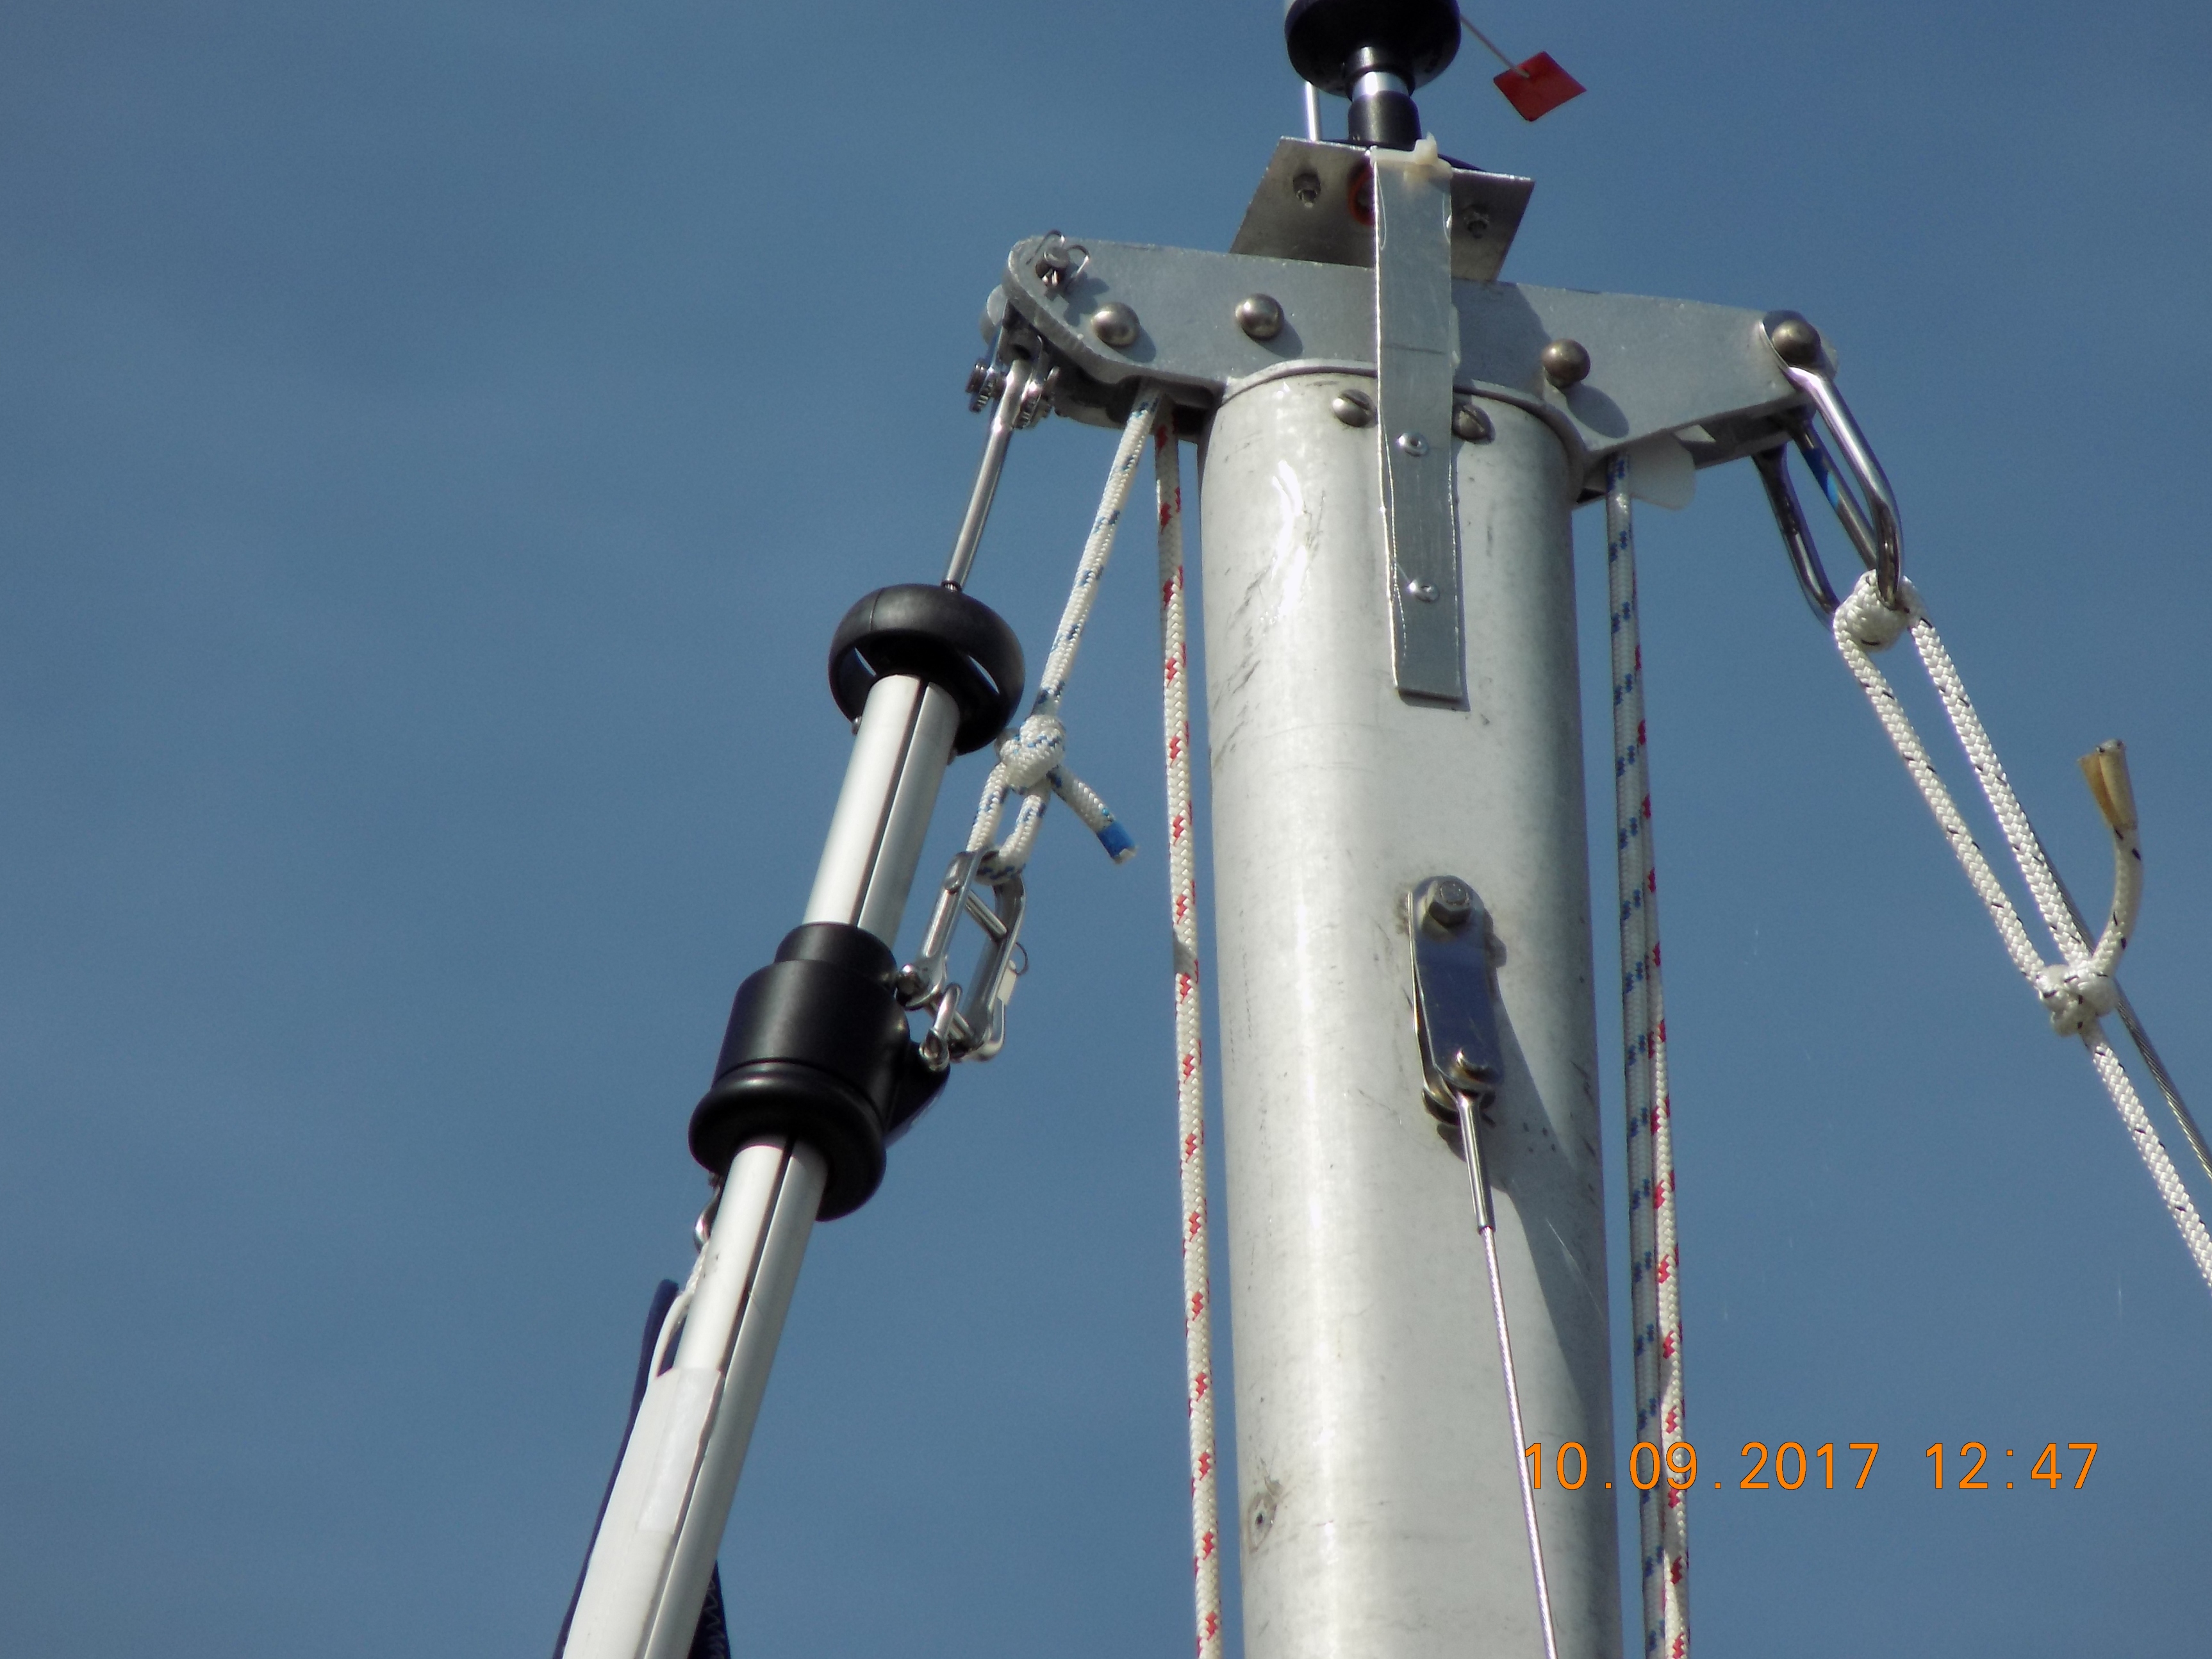
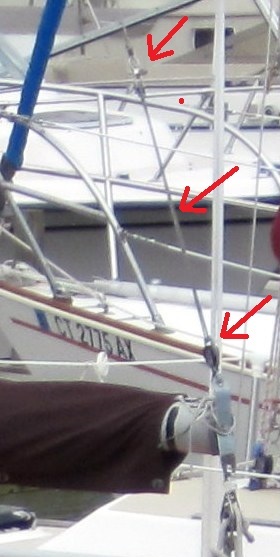
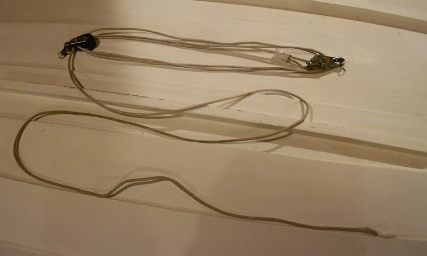
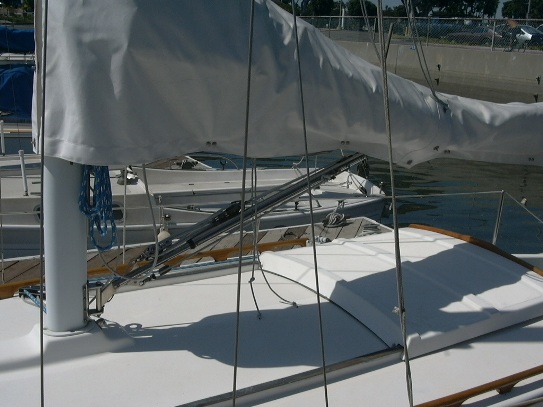
January 10, 2015. Webmaster Note Here's some pictures of Marionette's topping lift setup. Below left the topping lift, actually, the adjustable part of the topping lift. The ss wire is attached at the masthead fitting and ends about 2 feet above the normal position of the boom. An adjustable system connects the end of the topping lift to the end flange on the boom - the bottom of this end flange is where the main sheet system connects. Below right is the adjustable system.
The line runs thru each block twice and has plenty of 'mechanical advantage' to raise the boom.
|
The 1/8" line is maybe 10' long? and I tie it off with a couple of half hitches around the 'system at the bottom block. I use the tail end to tie off the boom to the backstay when I want to keep the boom on the centerline of the boat. Otherewise I use the traveller to move and hold the boom to one side or the other.
|
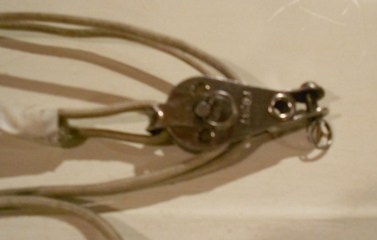
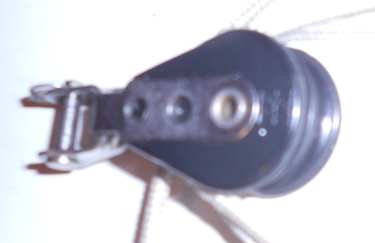
This is the top block of the system. It has only a single sheeve - the line just runs thru it twice - no problems with binding.
The line dead ends at the ring at bottom of this block. |
|
|
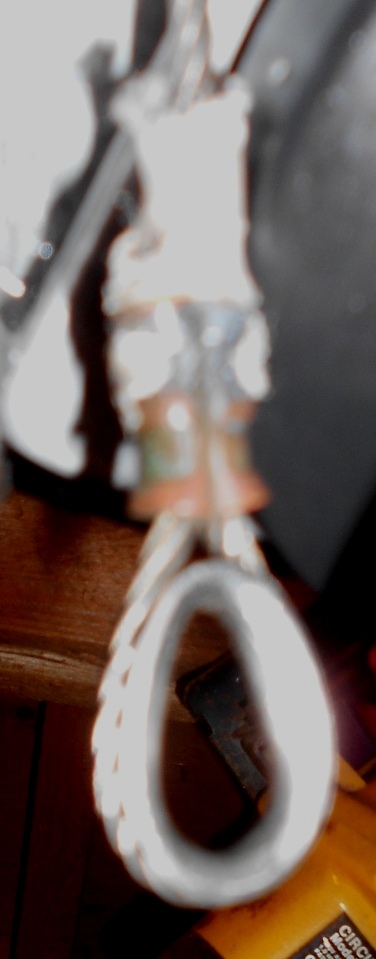
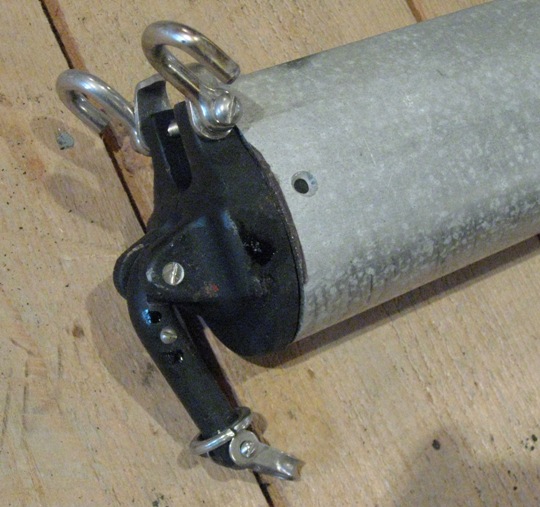
At left is the end of the topping lift ss wire and its thimble. Below is the single sheeve block that attaches to the boom end flange.
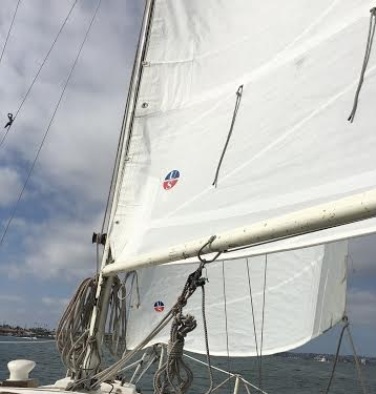
Before I raise the main sail I ease off the topping lift so that the boom is below its normal 'operating level and tie it off. I raise the main and the boom lifts to its sailing level and the topping lift is slack hanging inside the leach of the mainsail.
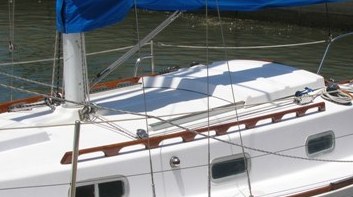
I have a sliding gooseneck track with a pin so I can set the height of the boom higher than the 'black band'. This allows more headroom under the boom when the boat is at her slip or at anchor/mooring - a big plus when using a boom tent.
|
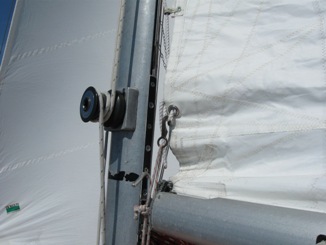
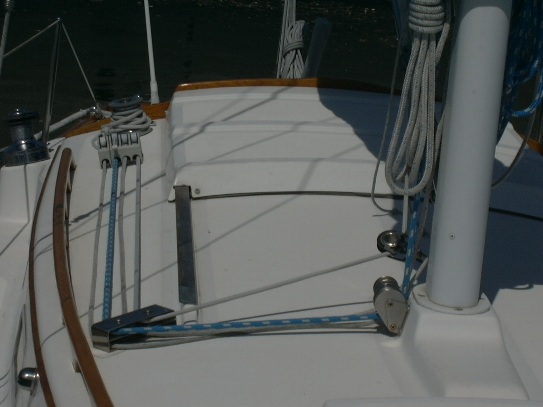
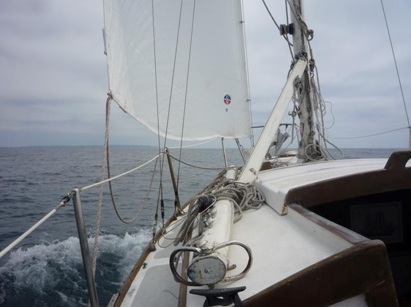
The outhaul control line.
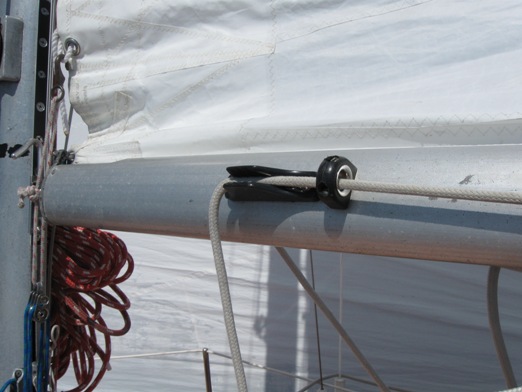
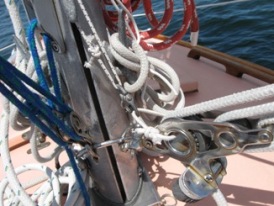
When single handing I pretty much set this so the foot is fairly flat, and forget about it unless running downwind. When racing there is almost always a crew on the rail that can adjust it. But, you ask, why not just put a block system in that runs it back to the cockpit? Because Marionette's plywood house is in her 50th summer and I don't like stressing it more than I have to, or putting holes into that I don't really have to. The only fittings I have on the cabin top are 2 camcleats on the aft edge either side on the companionway, one for the spinnaker halyard, one for the topping lift. The blue line block system on the mast (lower left corner of photo above) is the downhaul, or cunningham - more on this later.
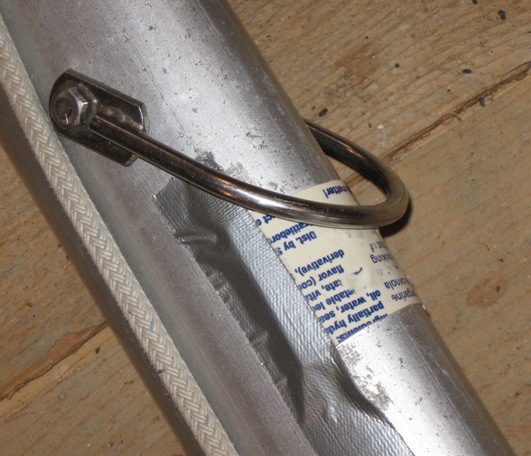
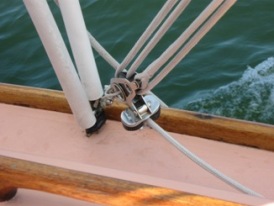
The infamous vang fitting. Most booms, when they break, break at the vang fitting - the bolt that goes through the boom that holds the bale. The actual villain here is really not the fitting but the shoulder of vang snap shackle that snaps to it. It wants to wear a 'groove' in the bottom of the boom as the boom moves against it because of wave action or varying wind pressure on the main. That's a piece of hard plastic that I duck taped on the underside of the boom. It worked. Before, it was a strip of duck tape over which I stuck a piece of heavy self adhesive foil tape, the kind they use on heating duct joints. I kind of like the plastic, especially with the printing.....
An argument could be made to have the cleat block on the boom. It was once, but that discussion is a winter time project...
 |
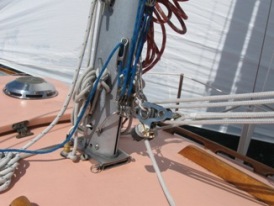
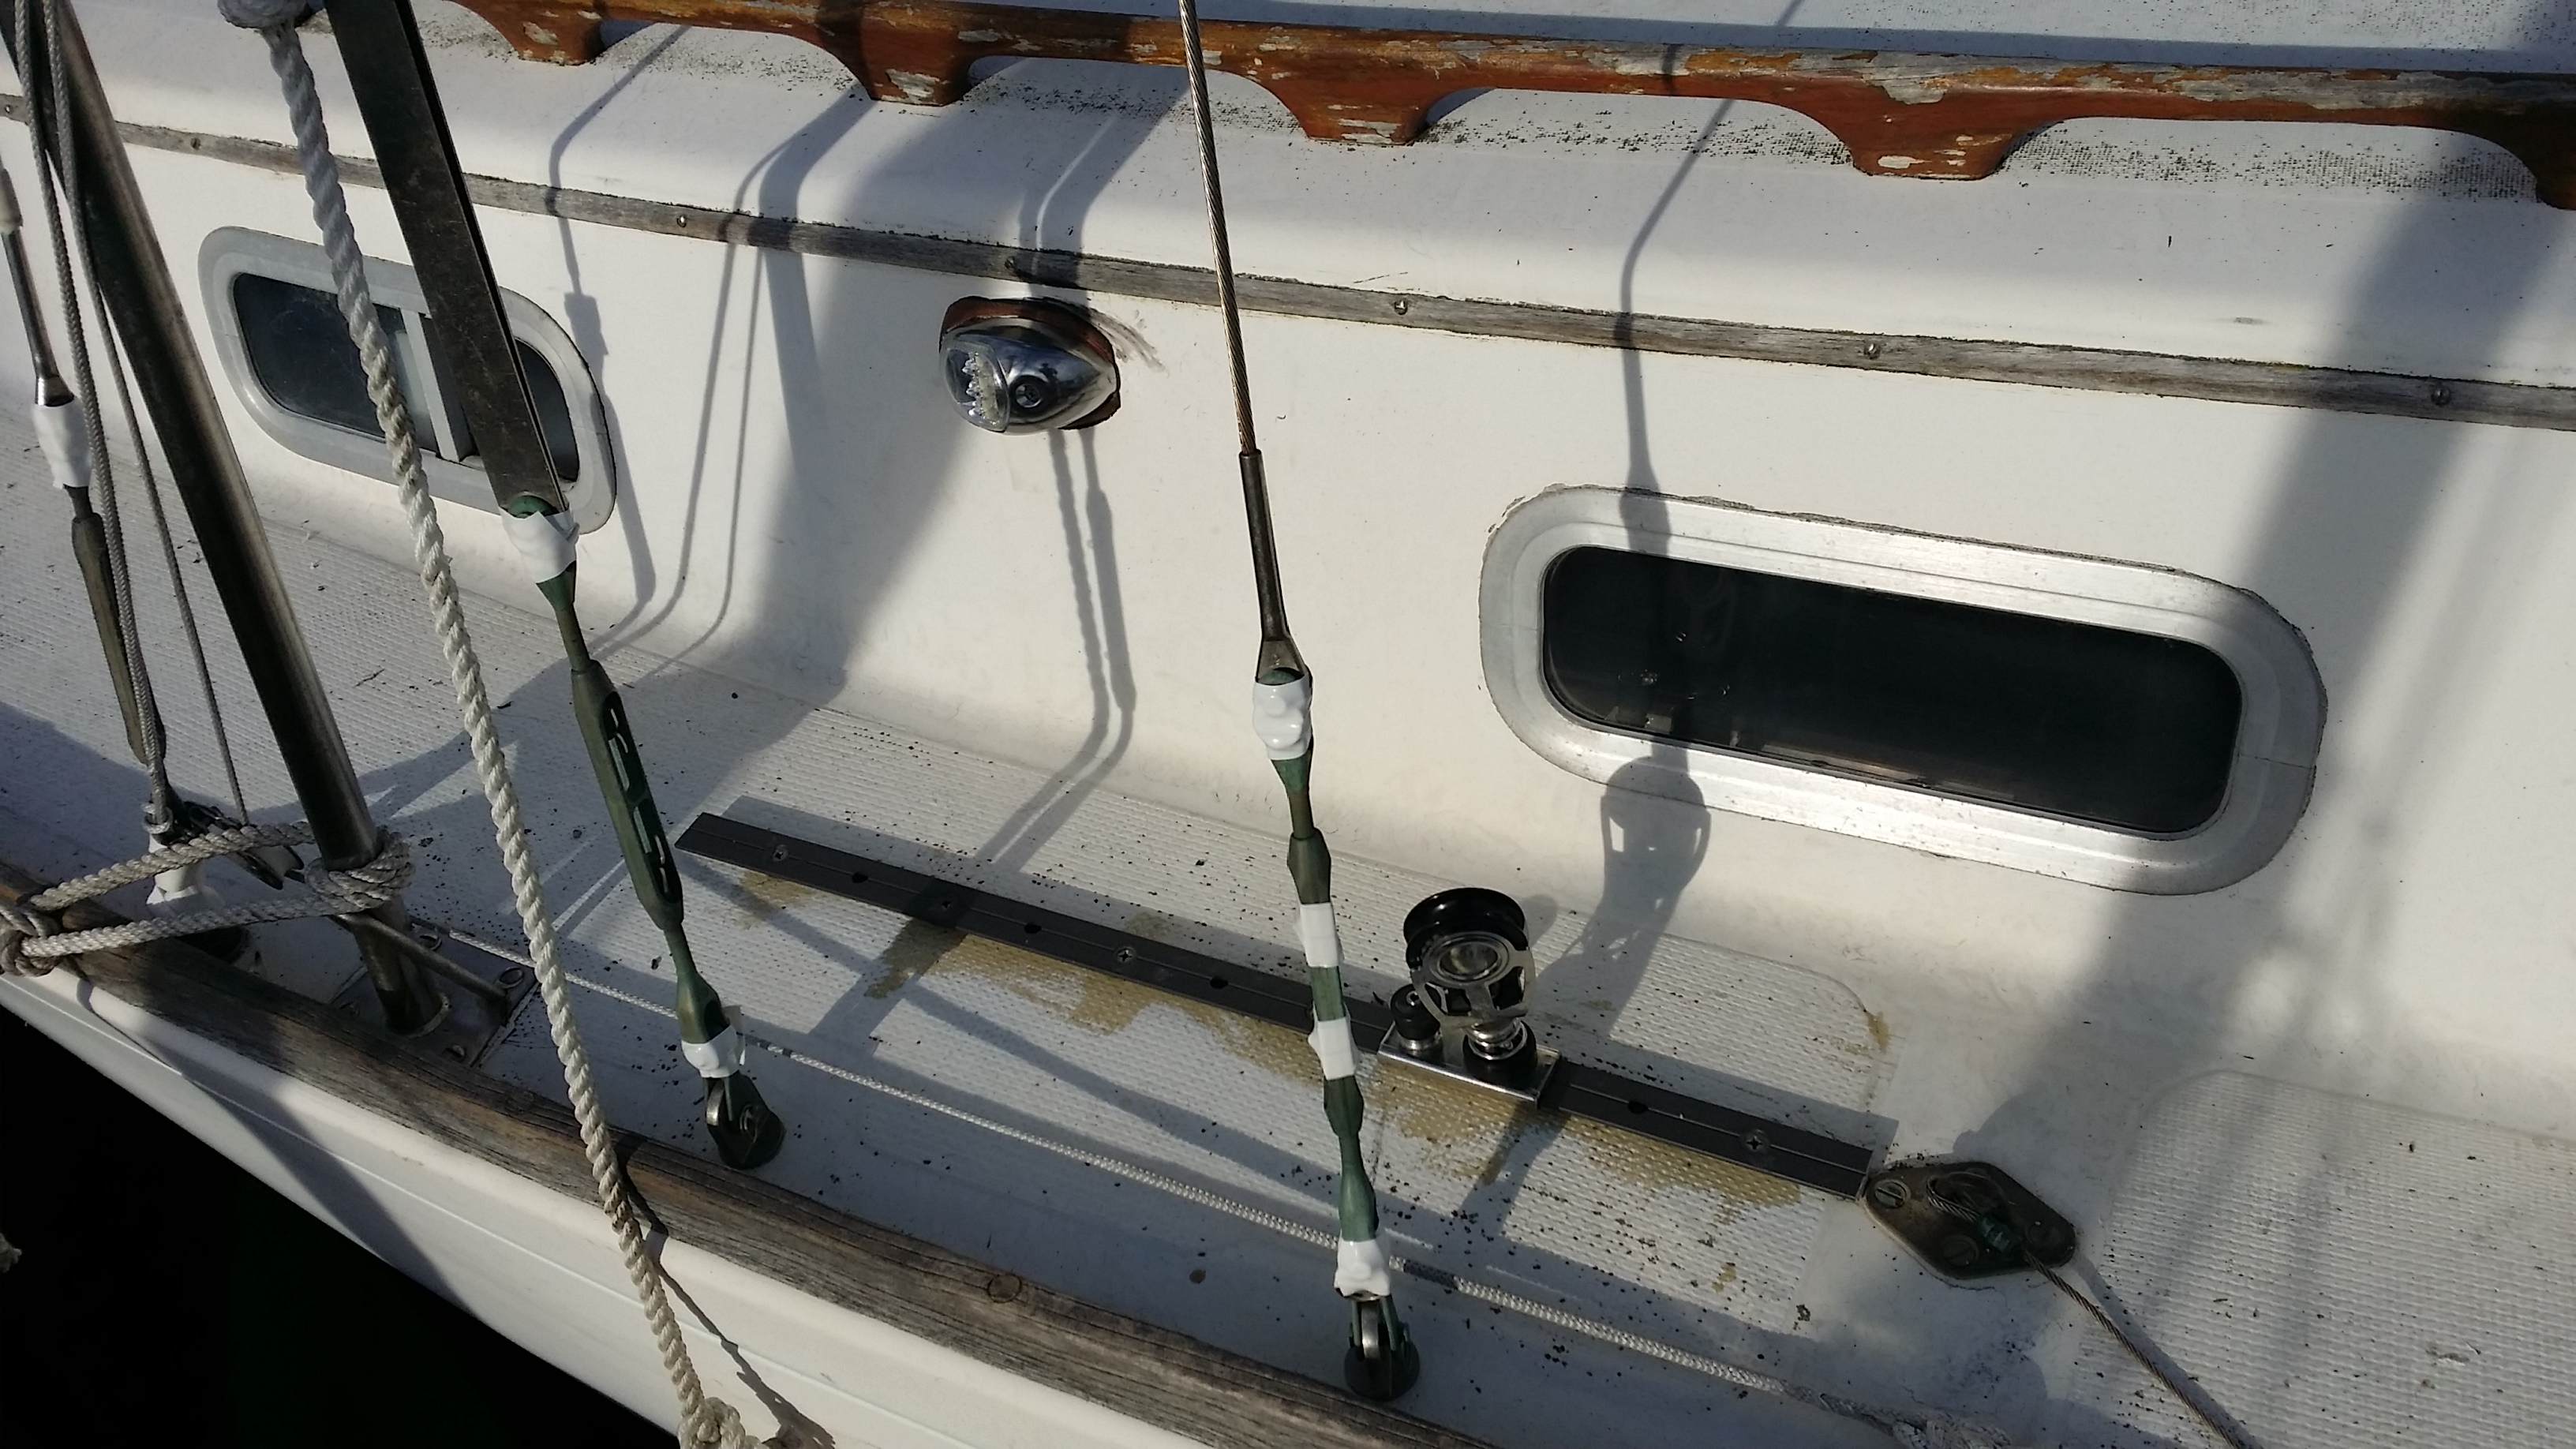
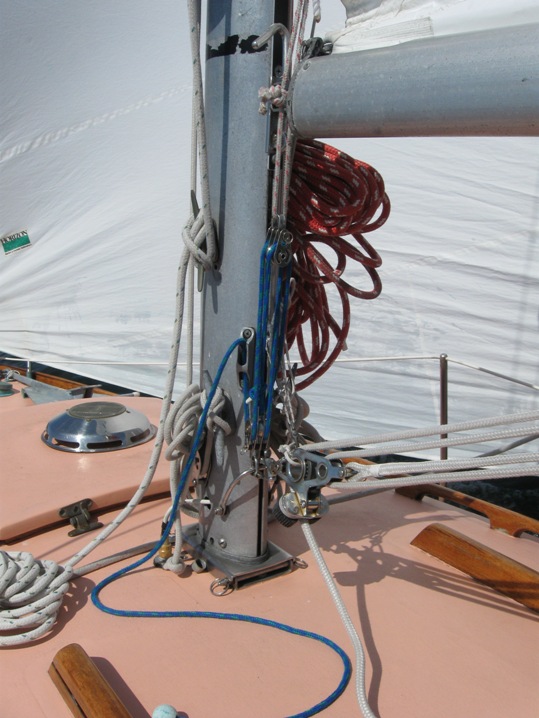
August 7, 2009 Marionette has a 4 part Garhaur ss vang (above) with snap shackles at each end. The mast end snap shackles to a bail low on the mast that also dead ends the cunningham. The working end of the vang lays on the main hatch and drapes into the cabin. The mast end of the vang can be snap shackled to rope eyes tied to the upper shroud turnbuckle (see left and below) so that the vang can be used as a preventer/trimmer when broad reaching and running. There is more on the loop tied to the shroud turnbuckle in the twing line section on the spinnaker set up page. |
In the first 2 pictures the vang shackle is moved from the mast bale to the rope loop tied to bottom of the starboard upper shroud turnbuckle, and is set up as a preventer. In the 3rd picture is a tip - tie a small piece of shock cord to a small snap shackle. Then tie a small rope loop to the ring on the block. Snap the shock corded snap shackle on to the loop and this will hold up your vang block when you have no pressure on the vang.
 |
The blue line block system above is the luff downhaul, or cunningham, It is rigged to allow its hook to be used in the normal downhaul luff grommet, or in either of the 2 reef grommets. It also snugs the boom down to the stop on the slide track - the black band. The lower block shackles to the vang bale, through a 4 part block system then up through a lead hole jam cleat with a knot in wood ball at the end. The hook (left) is easier to move to the next reef point than a line reeved through the grommet. |
|
Marionette's mainsheet is a 4 part Garhauer SS system with a large spring at the bottom shackle to keep the bottom block upright and above the traveller bar. The top block is shackled to the bottom of the tang at the end of the boom.
My editors will note I am trying a new picture/text placing technique here.
|
|
 |
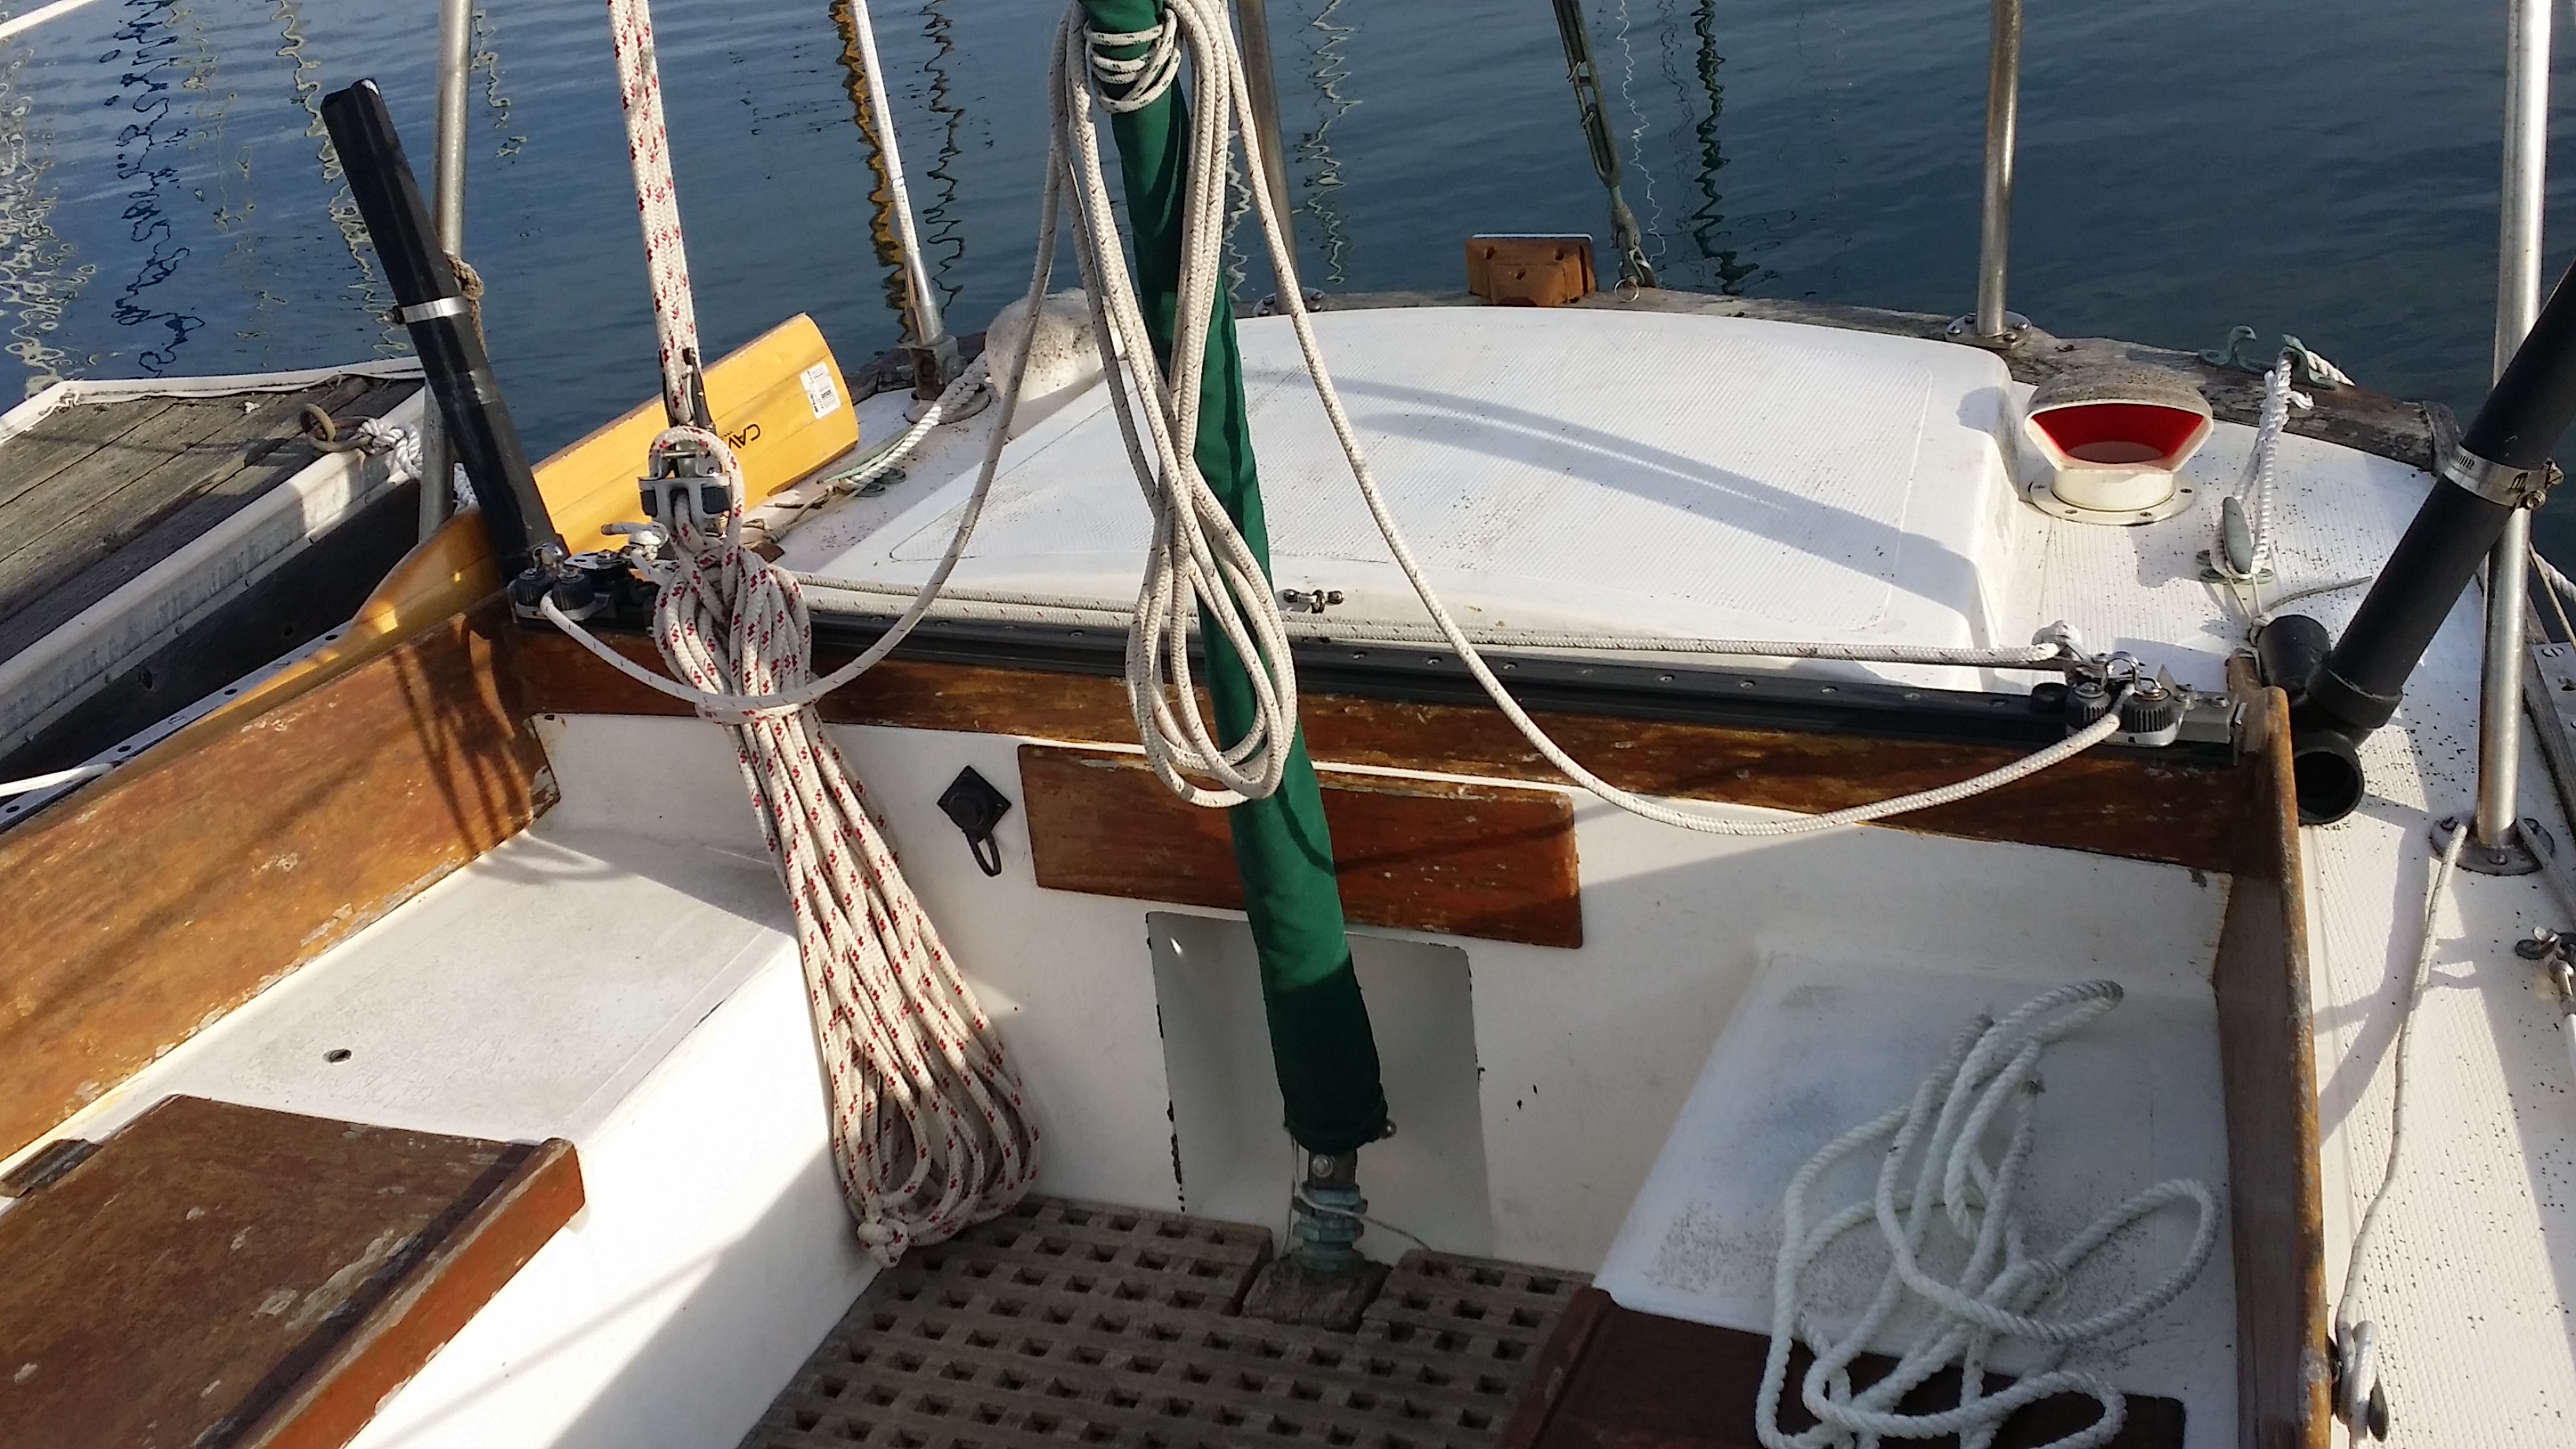
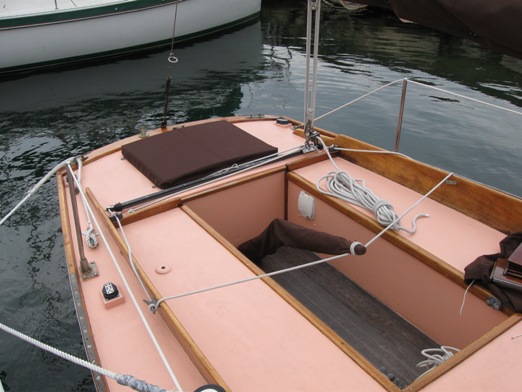
This picture shows Marionette's mainsheet and traveller setup. I found the ball bearing traveller car with the 2 integral blocks at Newport Marine's basement second hand parts store. It was a new! store demonstration unit set up on a short track section with the end stops, still in its original packaging! I think it was like $15 bucks. In the same shop, I found a section of used track the same profile about 6" longer than I needed for $5. Plus 2 cam cleats, 2 turning blocks, 2 padeyes and a few ss bolts, nuts and washers - most from my parts box, and that's my traveller.
The control line is set up to be 'endless' so you always have the working line and it works from the weather (up) side. Just lift the line next to your hip up and out of the camcleat to ease the traveller down in the puffs, or pull it to bring the traveller back up. Its a 2:1 system. The line doubles as the tiller centering line.
|
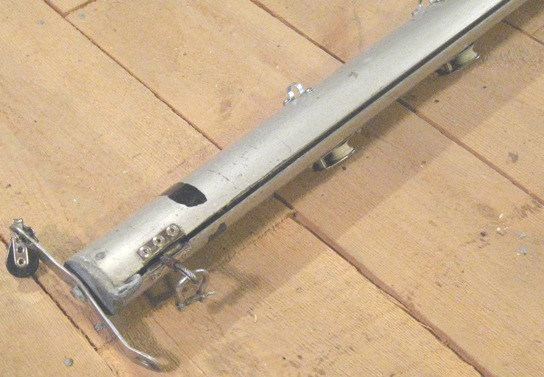
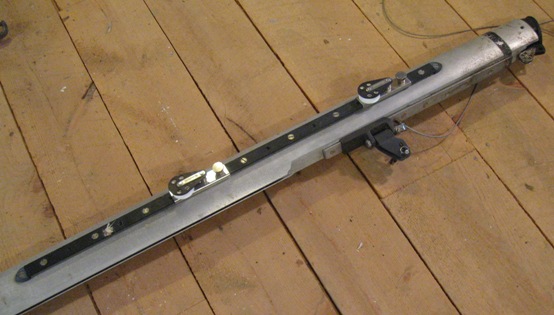
So, on my way to Newport, RI a few years ago I stopped in Wickford, RI at the marine consignment store there. These stores have websites that can be found by typing in marine consignment and a town/state name. I am genetically programmed to stop and wander through these stores every chance I get. I wandered outside the store and saw this boom standing up against the wall next to a couple of big boat spinnaker poles. It was longer and looked a little heavier section than a Dolphin boom - which might be a good thing. It was straight, the vang area looked good, but the closer - $25 price tag - was irresistible.

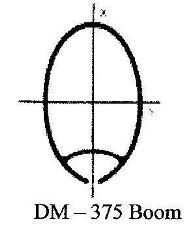
Section dimensions are 4" x 21/2" (oval) x .1" wall thickness. That's 1/4" bigger all around than Marionette's boom. I could not find this exact section on either Dwyer or Kenyan's boom webpages. But, it was on RigRite's/Pearson's page as Section 4025. Click to go to that page In this picture the boom is 13", 5" long and has not been cut to its final length. Its finished weight will be about 21.5 lbs vs 25 lbs for Passage's original wood boom, and Marionette's boom weight of 15 lbs.
One 'issue' with this boom is that the old wood boom has a screwed on track whereas this boom has a groove for a bolt rope or round slugs. It is highly likely that Passage's old mainsail will need to be replaced. But, it will get its day(s) in the sun to see if it has enough life to defer a new mainsail purchase for a year or 2. Which means, probably Passage will be relaunched with her old wood boom.
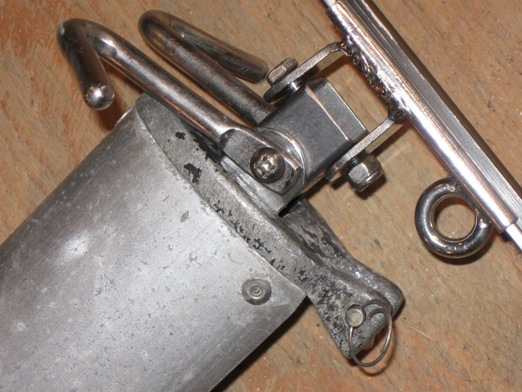
Gooseneck fitting (with reef horns I found in a consignment store's miscellaneous parts box). I could not find this type of gooseneck fitting on either Dwyer or RigRite/Kenyon/Pearson webpages. The boom gooseneck fits into a female fitting on the track slide on the mast. The shackle at the bottom has a line through it which is cleat ed to hold the boom down.
A serious track for adjusting the reef block locations; and a heavy duty outhaul fitting. One will note Marionette's blocks are smaller and their location was moved by me resulting in 'lightening' holes in the boom. Note: The black band is the black band
This boom is unfinished as it needs to be cut to length, and the adjustable outhaul needs set up. Whether it ends up on Passage or not remains to be seen. Its heavy/bad, but stronger/good. Its a great back up for Marionette if necessary, with only the gooseneck fitting needing to be changed. It cost a lot less than $1000, like maybe $35-40 when its done.
************************
August 24, 2009. A recent exchange on vangs on the Forum produced some additional info. Erik Evens, Robin Lee, Yankee #118, sent in the following pictures and comments (minor edits).
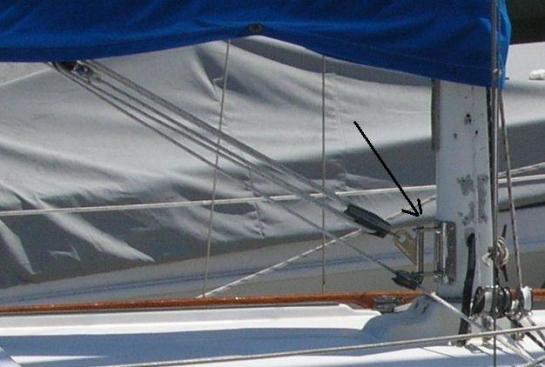
Here's a photo that shows the setup pretty well. I had the mast hinge fitting made up by Garhauer. It's attached to the aft side of the mast by eight tapped-in machine screws. Bullet-proof. On the bottom of the hinge is a short tang, to which is attached a Garhauer single block, to turn the line down to the deck turning block, from which the line traces aft to the stopper.
I set up my vang on Robin Lee as a 4:1 block and tackle, the action end led aft through a turning block to the sheet stopper bank on the starboard cabin top. This allows easy adjustment for me when single handing, which I do a lot. I think it works really well. the 4:1 has proved to be plenty of purchase, and if I need a bit more UMMMPH to cinch it down, I can throw the tail around the halyard winch.
 |
I have a bank of two stoppers and a winch on the port side as well. To port I have the jib halyard and the spinnaker pole lift, and to starboard I have the main halyard, the spinnaker halyard, the main reefing line, and the boom vang.
No particular magic with that arrangement... the stoppers were there when I got the boat. I'll bet that it's hard to find stoppers in a three-gang unit, hence the two-and-four setup.
I had a pad eye on the deck in the aft slope of the deck mast base, and I attached the vang there initially. Very bad idea. It quickly ripped out of the deck. I discovered that it was attached with some large stainless lag screws. Beware! |
Webmaster Note: Erik adds in a subsequent Forum posting that the attachment point of his vang on the boom is 34" from the aft facing surface of the mast.
****************************
Doug Pease's Aspara, Yankee # 153, has a custom made rigid boom vang. He sent in the following pictures and comments.
Bill Felgenhauer, of Garhauer Marine, made me a nifty stainless boom vang with multiple reduction, which improves performance and handling significantly. Click here for a larger view.
Aspara's line organizer
September 2, 2009 Doug has followed up with more info on Aspara's Garhauer rigid vang
Readers might like to know that Garhauer Marine will make any Dolphin owner a rigid boom vang out of 316 stainless, with custom boom and mast mounts (you send them a tracing of the extrusion diameter) and multiple purchase, with a ten-year warranty. They're 20% off until September 30th, and even though they're always reasonable, Garhauer will make a rigid Dolphin vang for $264.00 right now. My rigid vang has been one of the most effective improvements to handling and performance that I've made (Also, I love the way the boom just sits up there all by itself...).
Click here for a link to their site and the Model RV 12-1 rigid vang
************************
February 21, 2016. Scott Henry, Amaya, Yankee #95 sent in a couple of pictures of his new traveller set up and new inboard tracks - email excerpted/edited.
traveller & jib track/blocks from Garhauer Marine - Click on the photos for a larger image
Note that Garhauer will custom drill the traveller for no extra money, to match the existing holes. I just copied the hole spacing on the original, which long ago (before I got it) ceased to slide smoothly, if it ever did. The old one was just a piece of Mariner jib track and slide. I followed your example (Marionette's system above) and have a continuous line for the traveller control.This is their smallest size.
**************************
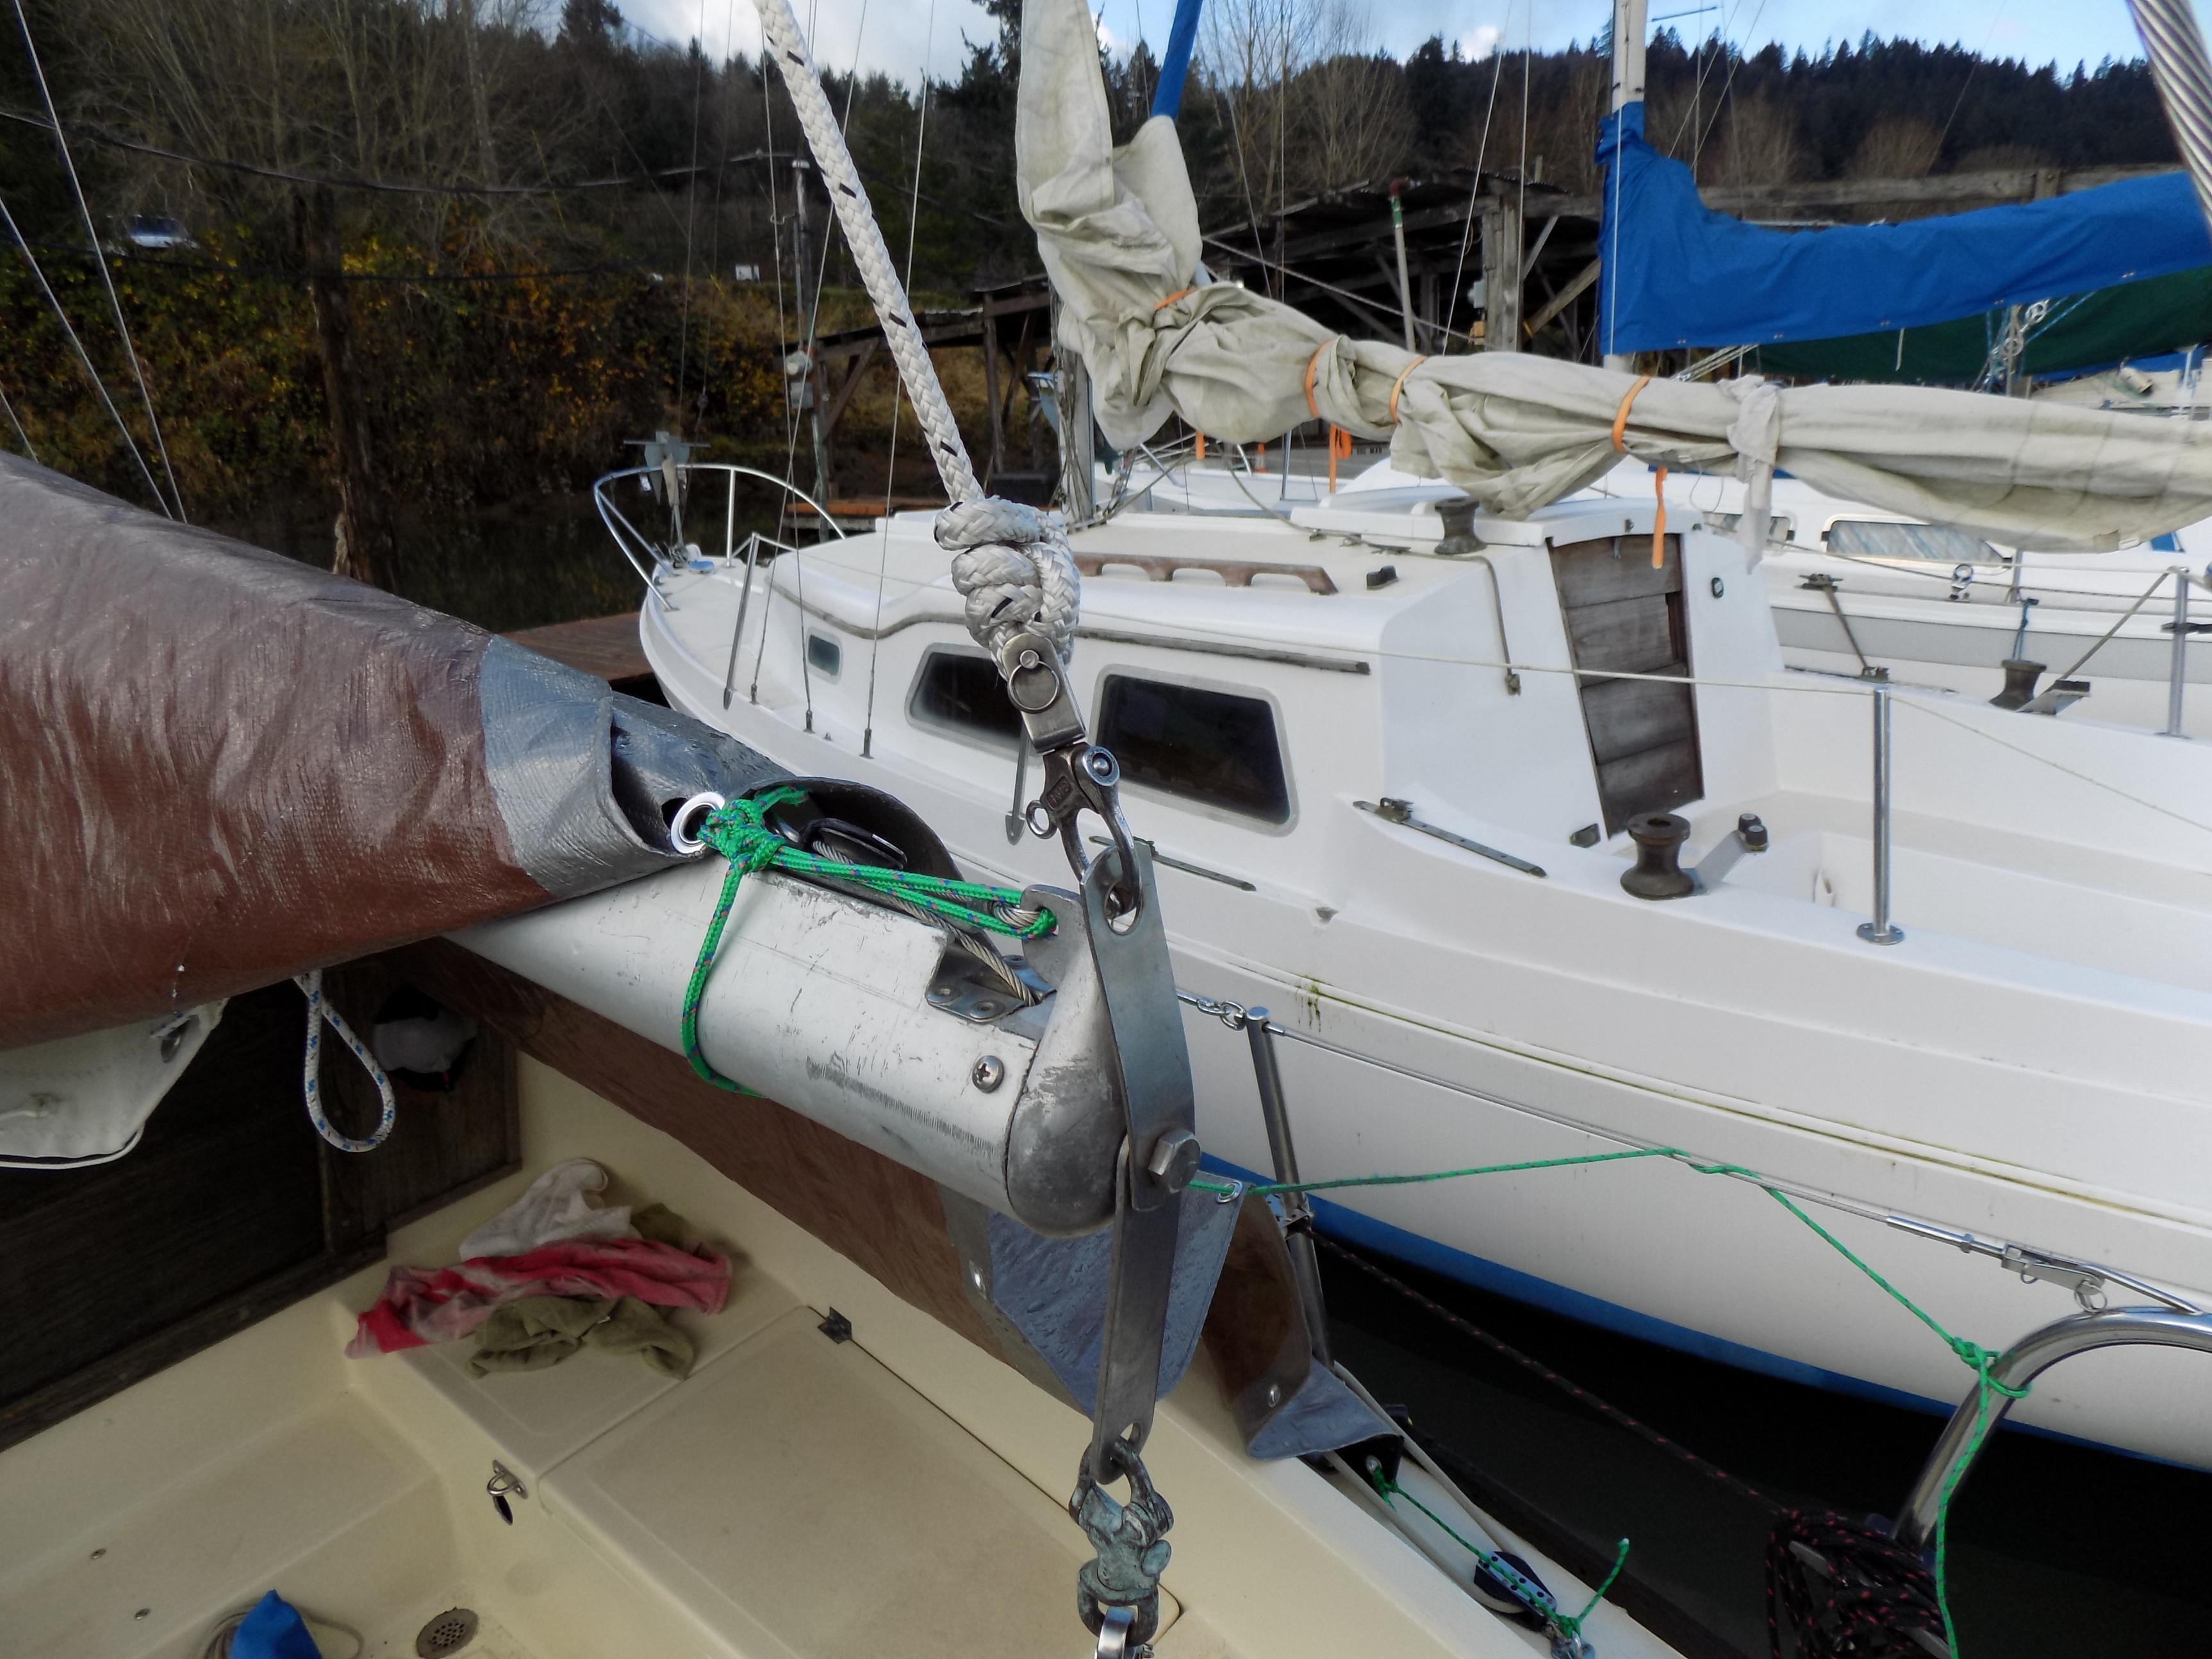
May 29, 2016. Rick Kennedy's Boethius, Yankee #149 had a boom problem - below left
Here is his report of the fix.
At right is a picture of my boom, fixed after my wing-and-wing debacle. I took it to the local rigger who does lots of race boats. He said it was a common fix. I lost 1 1/2 inches off the length of the boom in order to make the nice joint. A sleeve is riveted inside. Total cost, mostly labor, was about $300.
|
|
****************************
December 22, 2017
Hal Schmelzer
(Sunrisa, Yankee #168) contributes the following re his topping lift (minor edits).
Hi Ron,
Dolphin #168 didn't have a main boom topping lift when I bought her.
While I had the mast down in my side yard I added one. I couldn't find a place on the masthead fitting to attach it until I noticed that the pin for the back stay was too long. I found a boom vang fitting at my favorite consignment chandler and with a little bending got it to fit outside the mast head fitting ears, on the pin. I used a 3/8 line and a snap shackle for the boom end. When under sail I use a bungy cord to secure the topping lift to the stern rail.
Click on the photos for a larger image
I use a spare, four part, boom vang on the lower fitting on the boom with the topping lift in place for a crane. I used it to lift my outboard from the ground to the motor well. The boat was on the trailer and I used an old couch cushion to keep from dinging the deck. The topping lift works great for the usual things like jiffy reefing. It may be used with a life sling to bring a person back aboard. The vang tackle could be attached to the life sling collar and kept in the life sling container. I will test this out in the spring and send you an update.
**********************************
December 3, 2020 Check out Grand Finale, Pacific Dolphin #300 comments re her boom and gooseneck fitting
**************************
|