|
April 28, 2014. Jerry Slaughter's ROWDY is a Marscot/O'Day #5 built boat. This project is one of many that Jerry is sharing with us. For your reading enjoyment there are other Toe Rail projects in the Technical Section/Repairs.
Here is his email - minor edits.
Hi Ron,
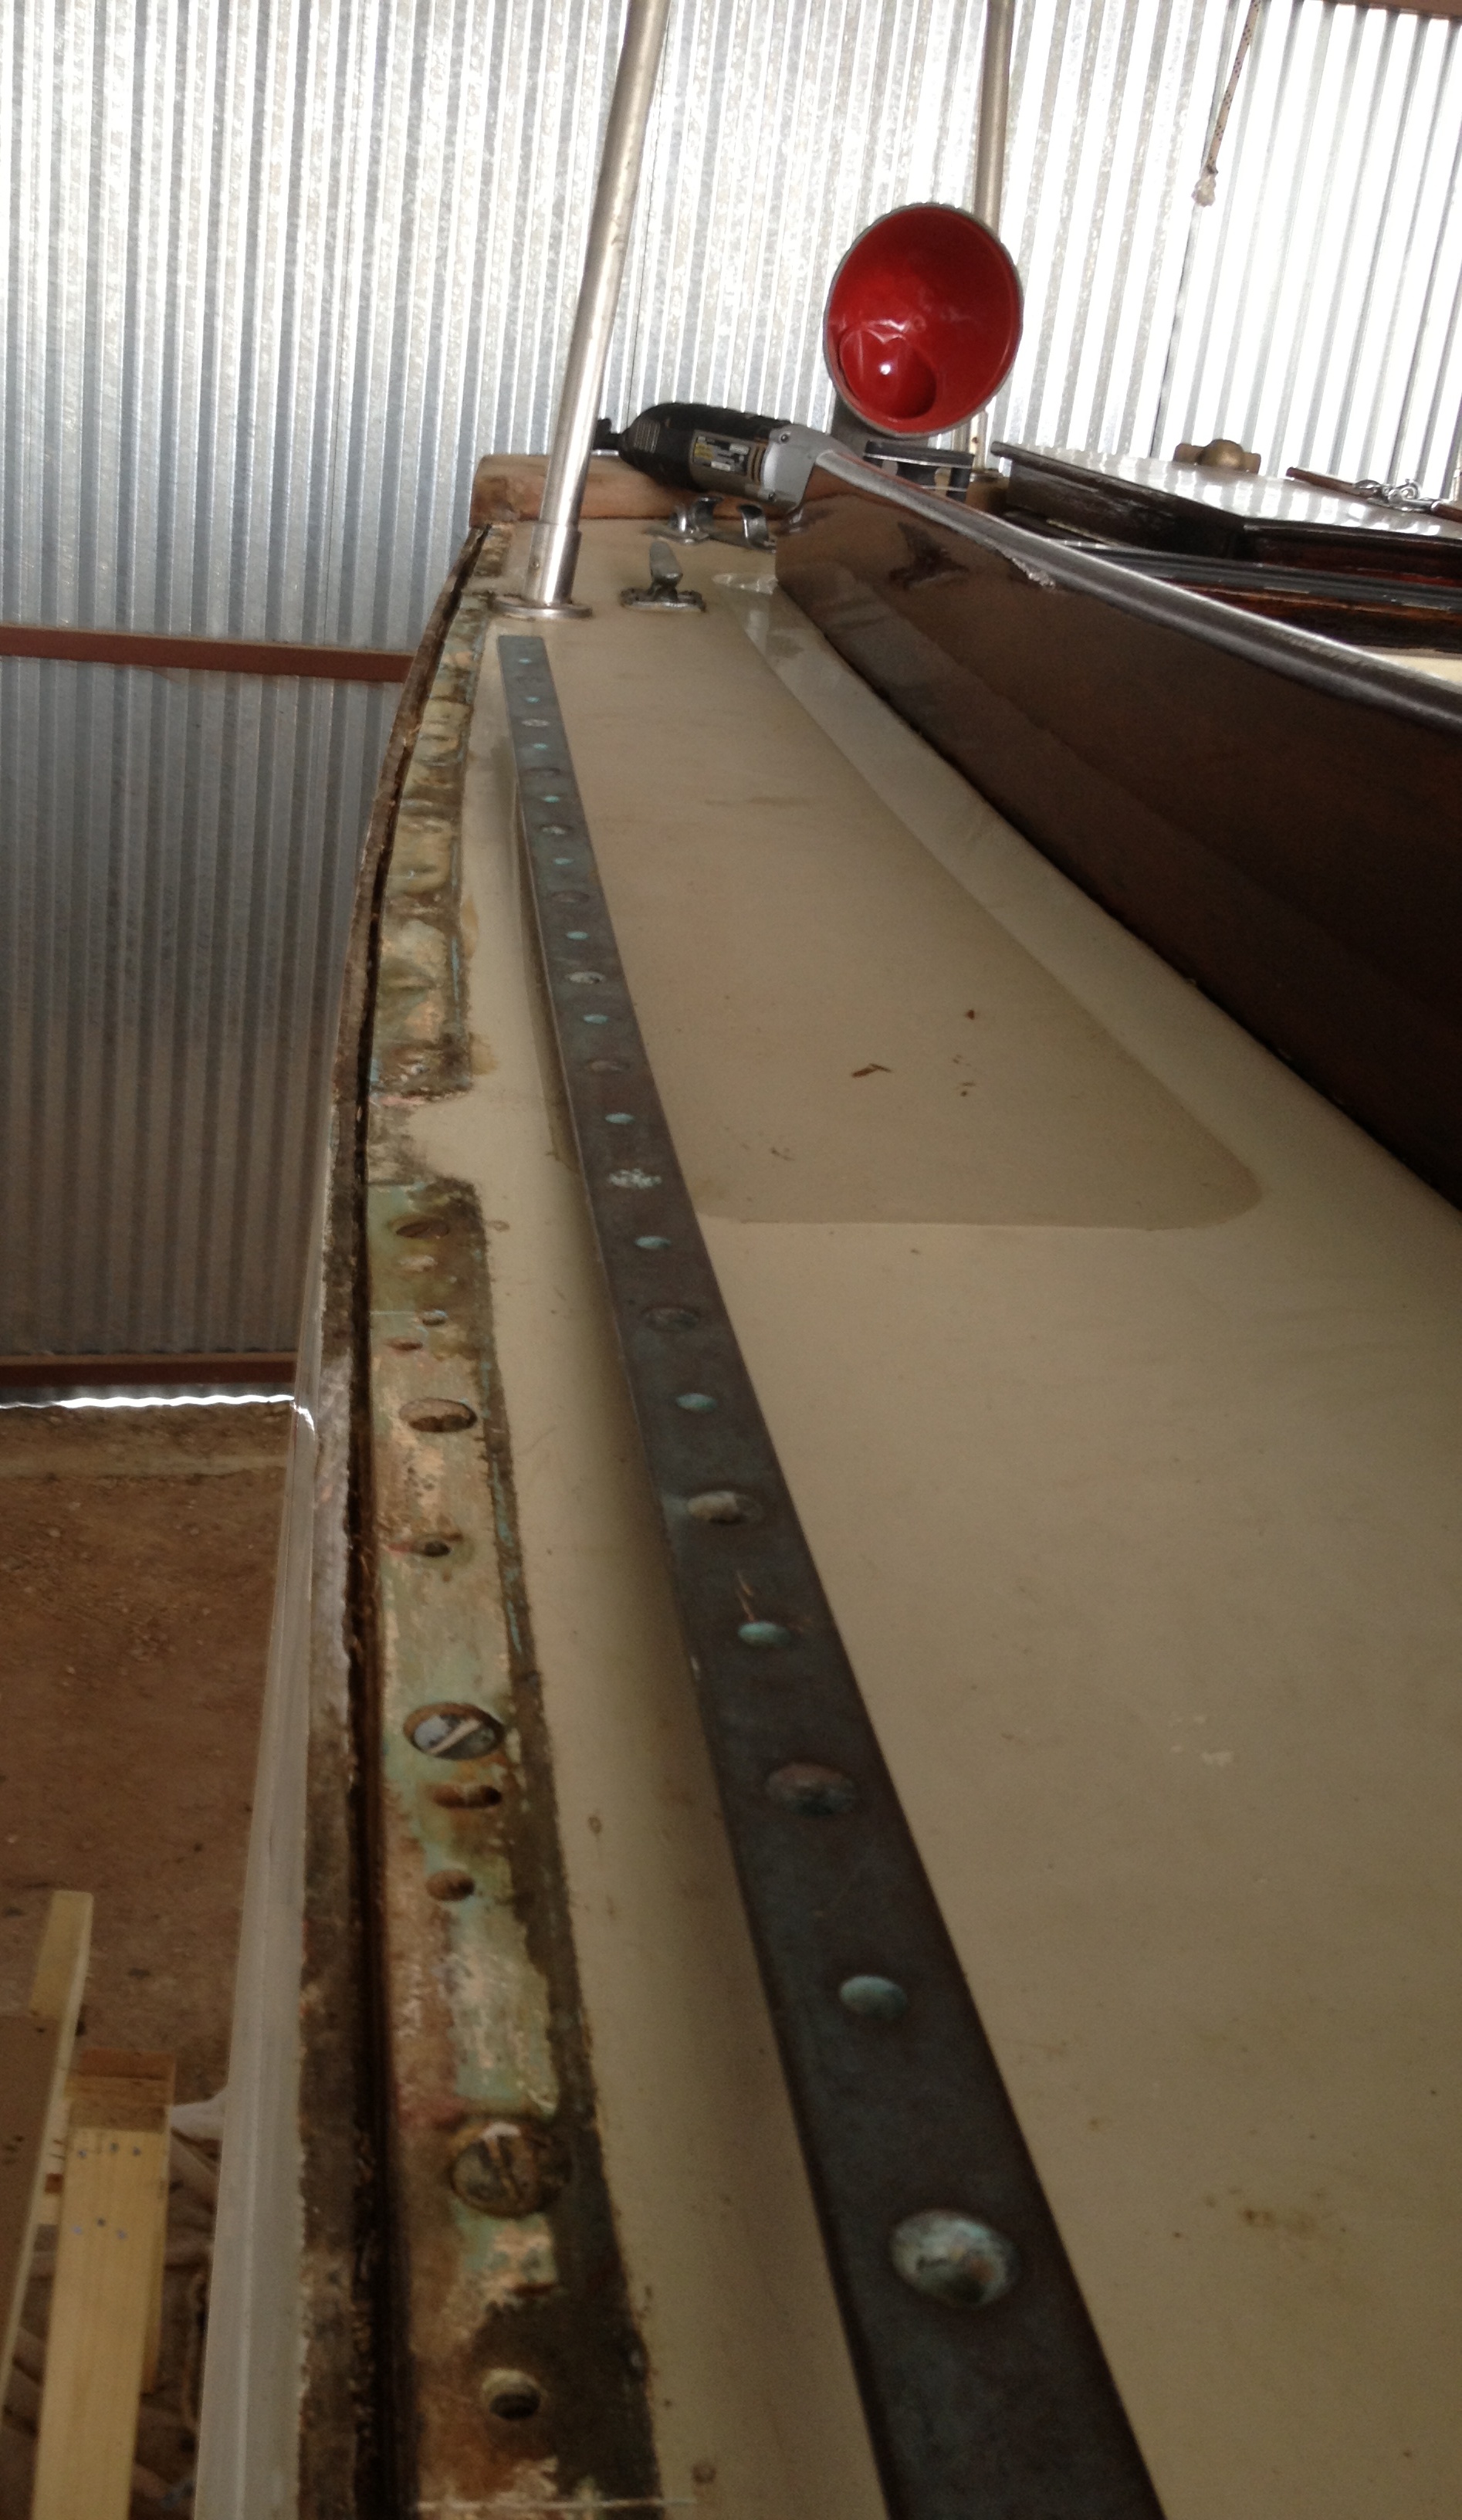
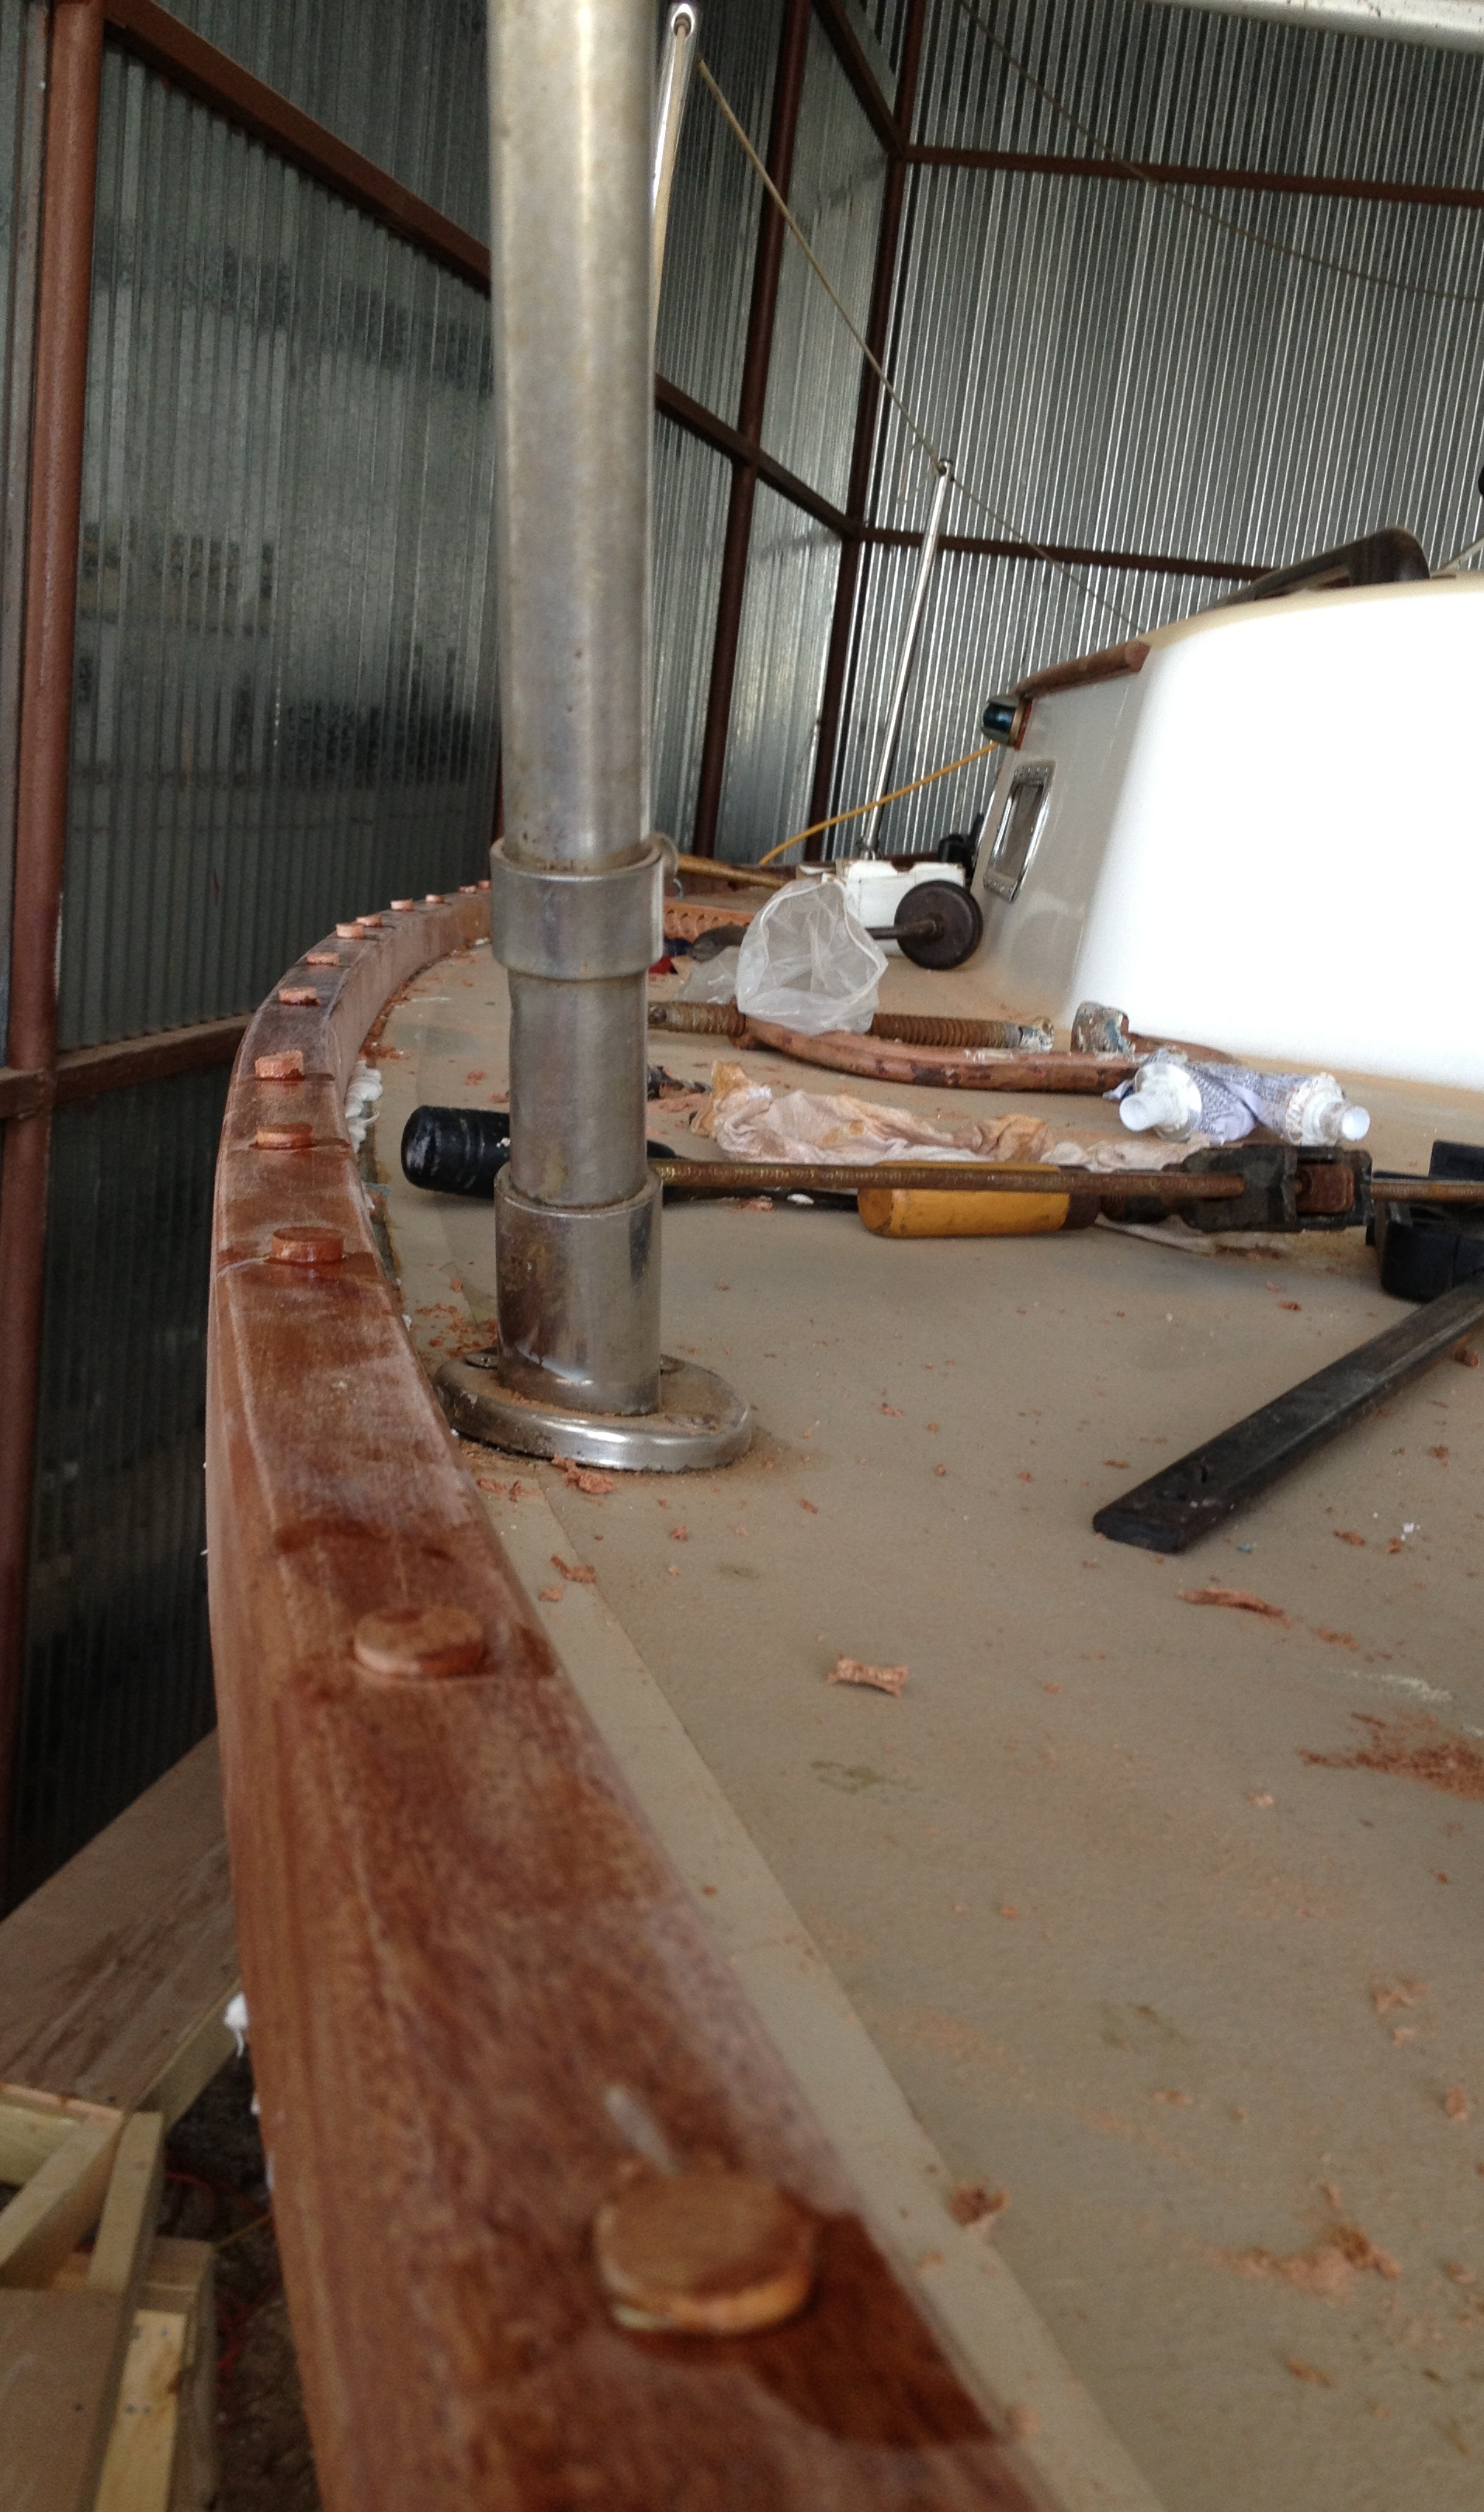
I spent a few hours cutting out toe rail today and found out a few things about our boats. Of course every boat is going to be a bit different if there is more than one owner and each has a screwdriver. When I started this job I thought the toe rail was primarily bolted down to the deck and through the sheer clamp. There seemed to be a bunch of bolt ends and nuts showing down below. This also appeared to be the way the deck was secured to the hull.
|
In Rowdy's case, this was not quite the case. As it turned out, the deck is screwed into the wood core of the shear clamp with 1 1/2 inch #14 bronze screws on 6 inch centers. Now, that's a bunch of screws, about 75 per side but with the clamp core degrading over time maybe 50 per side are holding while the others just spin in their hole.
I'll have to do something to enhance their grasp in what is left of the clamp, especially in the forward third of the boat.The genoa track on Rowdy is 10 feet long and it is bolted through the clamp so I have a lot of holding pressure in, at least, half the rail and deck, plus the screws of course.
One of ROWDY's prior owners used 3M 5200 as a seam filler in the deck/hull juncture. I've pulled all the old compound that I could out but I plan to re-caulk with 5200. Its tenacity and firmness, once set up, will serve well.
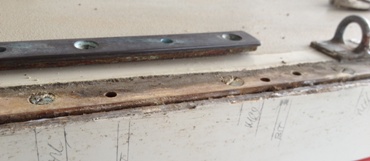
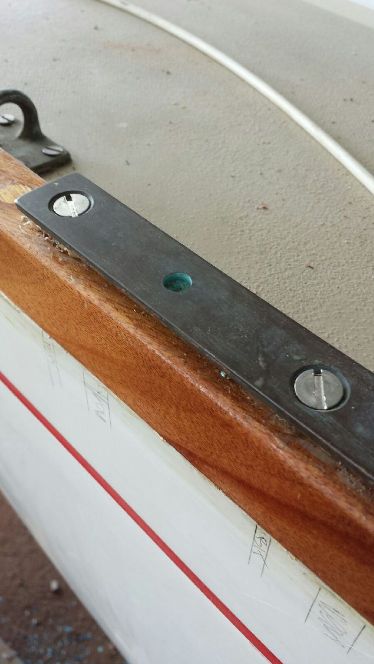
As for bedding the new rails, my options are still dolfinite, life caulk, or 3M 4000. We will see. I've attached a few pictures. One shows the varying size gap I have to deal with. The widest is about 5/16s inch, the narrowest is nothing. I marked, on the hull the bolt locations for the genoa track and the width and location of the deck screw heads so I don't try to put any new fasteners through them.
Jerry
Note: There is a discussion in our Technical Section regarding leaks, bedding compounds, etc., that specifically relate to this subject. Click here to go there
|

Click on photos to go to larger view |

Bill Thomas, who has a major restoration project going with #4 Ruby comments
Hi Jerry,
Now you have me worried. :) The only thing I did not pull off my boat was the toe rail. Every fitting was leaking but the rail seemed ok. I did rework the scarfs, check for visible signs of leaks and then varnish the rail with 6 new coats of top shelf varnish. I hope that does the trick.
I do know that 15-20 years ago a local yard pulled the deck off, replaced the shear clamp and rebedded everything along the joint. The toe and taff rail were remade then as well. The yard that did the work has a good reputation. (Seal Cove Boat Yard, Harborside, Maine) I repaired the forward deck beams last winter. I’ll keep my fingers crossed this summer. Maine weather is harsh but the boating season is short. For us 4 months is stretching it out.
I’ll bet in the last 20 years Ruby never spent more then 18 weeks a season on a mooring. She used to live on what might be the best most sheltered mooring in Maine***. We’ll know in June how this part of the story ends.
Good luck with your toe rail. To me you're sailing into uncharted waters. Bill Thomas
*** For more on this mooring check out Marionette's Log 2011
|
**********************************
May 2, 2014. Mark Steinhilber is a marine architect who sailed with his dad on Rascal, a Marscot/O'Day. Mark keeps us honest by checking in and commenting from time to time. Here are his comments re ROWDY's toe rail project
Look’s exactly like Rascal’s deck edge when we pulled the toe rail in the 70’s . We pulled all the deck screws from the chainplates to the taffrail. We drilled a number of drain holes in the bottom of the fiberglass shelf clamp channel, let the clamp dry out over the winter, and then tried to give it the “Git-Rot” treatment while reinstalling the screws. We finished up with a single layer of fiberglass tape over the joint and down the hull about an inch.
The toerail was reinstalled with some throughbolts, and all throughbolts in way of the genoa track and lifeline stanchions. The fiberglass tape cracked within a year and we continued to have rusty or dirty wood colored bleeding come out of the rails. I think we needed much bigger holes in the shelf clamp for draining and drying over a longer time period to have been more successful.
In hindsight, the only fiberglassing that we should have done would have been grinding down enough at the deck and hull joint to make room for multiple plys that could adequately bond the two without the screws, or with few bolts. Or, better yet, we should have replaced the shelf clamp with an entire new flange inside.
I think my dad was always too afraid to really get after a job with the right tools and totally solve a problem rather than bandaging it up. Again, this was on Rascal when the boat was only 10 or 15 years old! I really think surgical removal of the entire wood and fiberglass shelf clamp and replacement by glassing in a thick flange in 4 – 5 foot sections with the deck in place would work the best on the Marscots. Final through bolting of hardware and track with proper sealant should be good for 25 or 30 years as born out by the success with the glass flange in the Lunns, Yankees, etc.. I’ve done a lot of sheet metal rust surgery on some old cars lately and think a 4 1/2 grinder with an abrasive cutoff wheel would slice off the tabbing for the flange nicely.
Mark S.
****************************
June 17, 2014. Jerry's toe rail project, continued....
|
Hi Ron,
I've been working on the toe rails for Rowdy. The process seems to go on forever but I think I am sneaking up on the end.
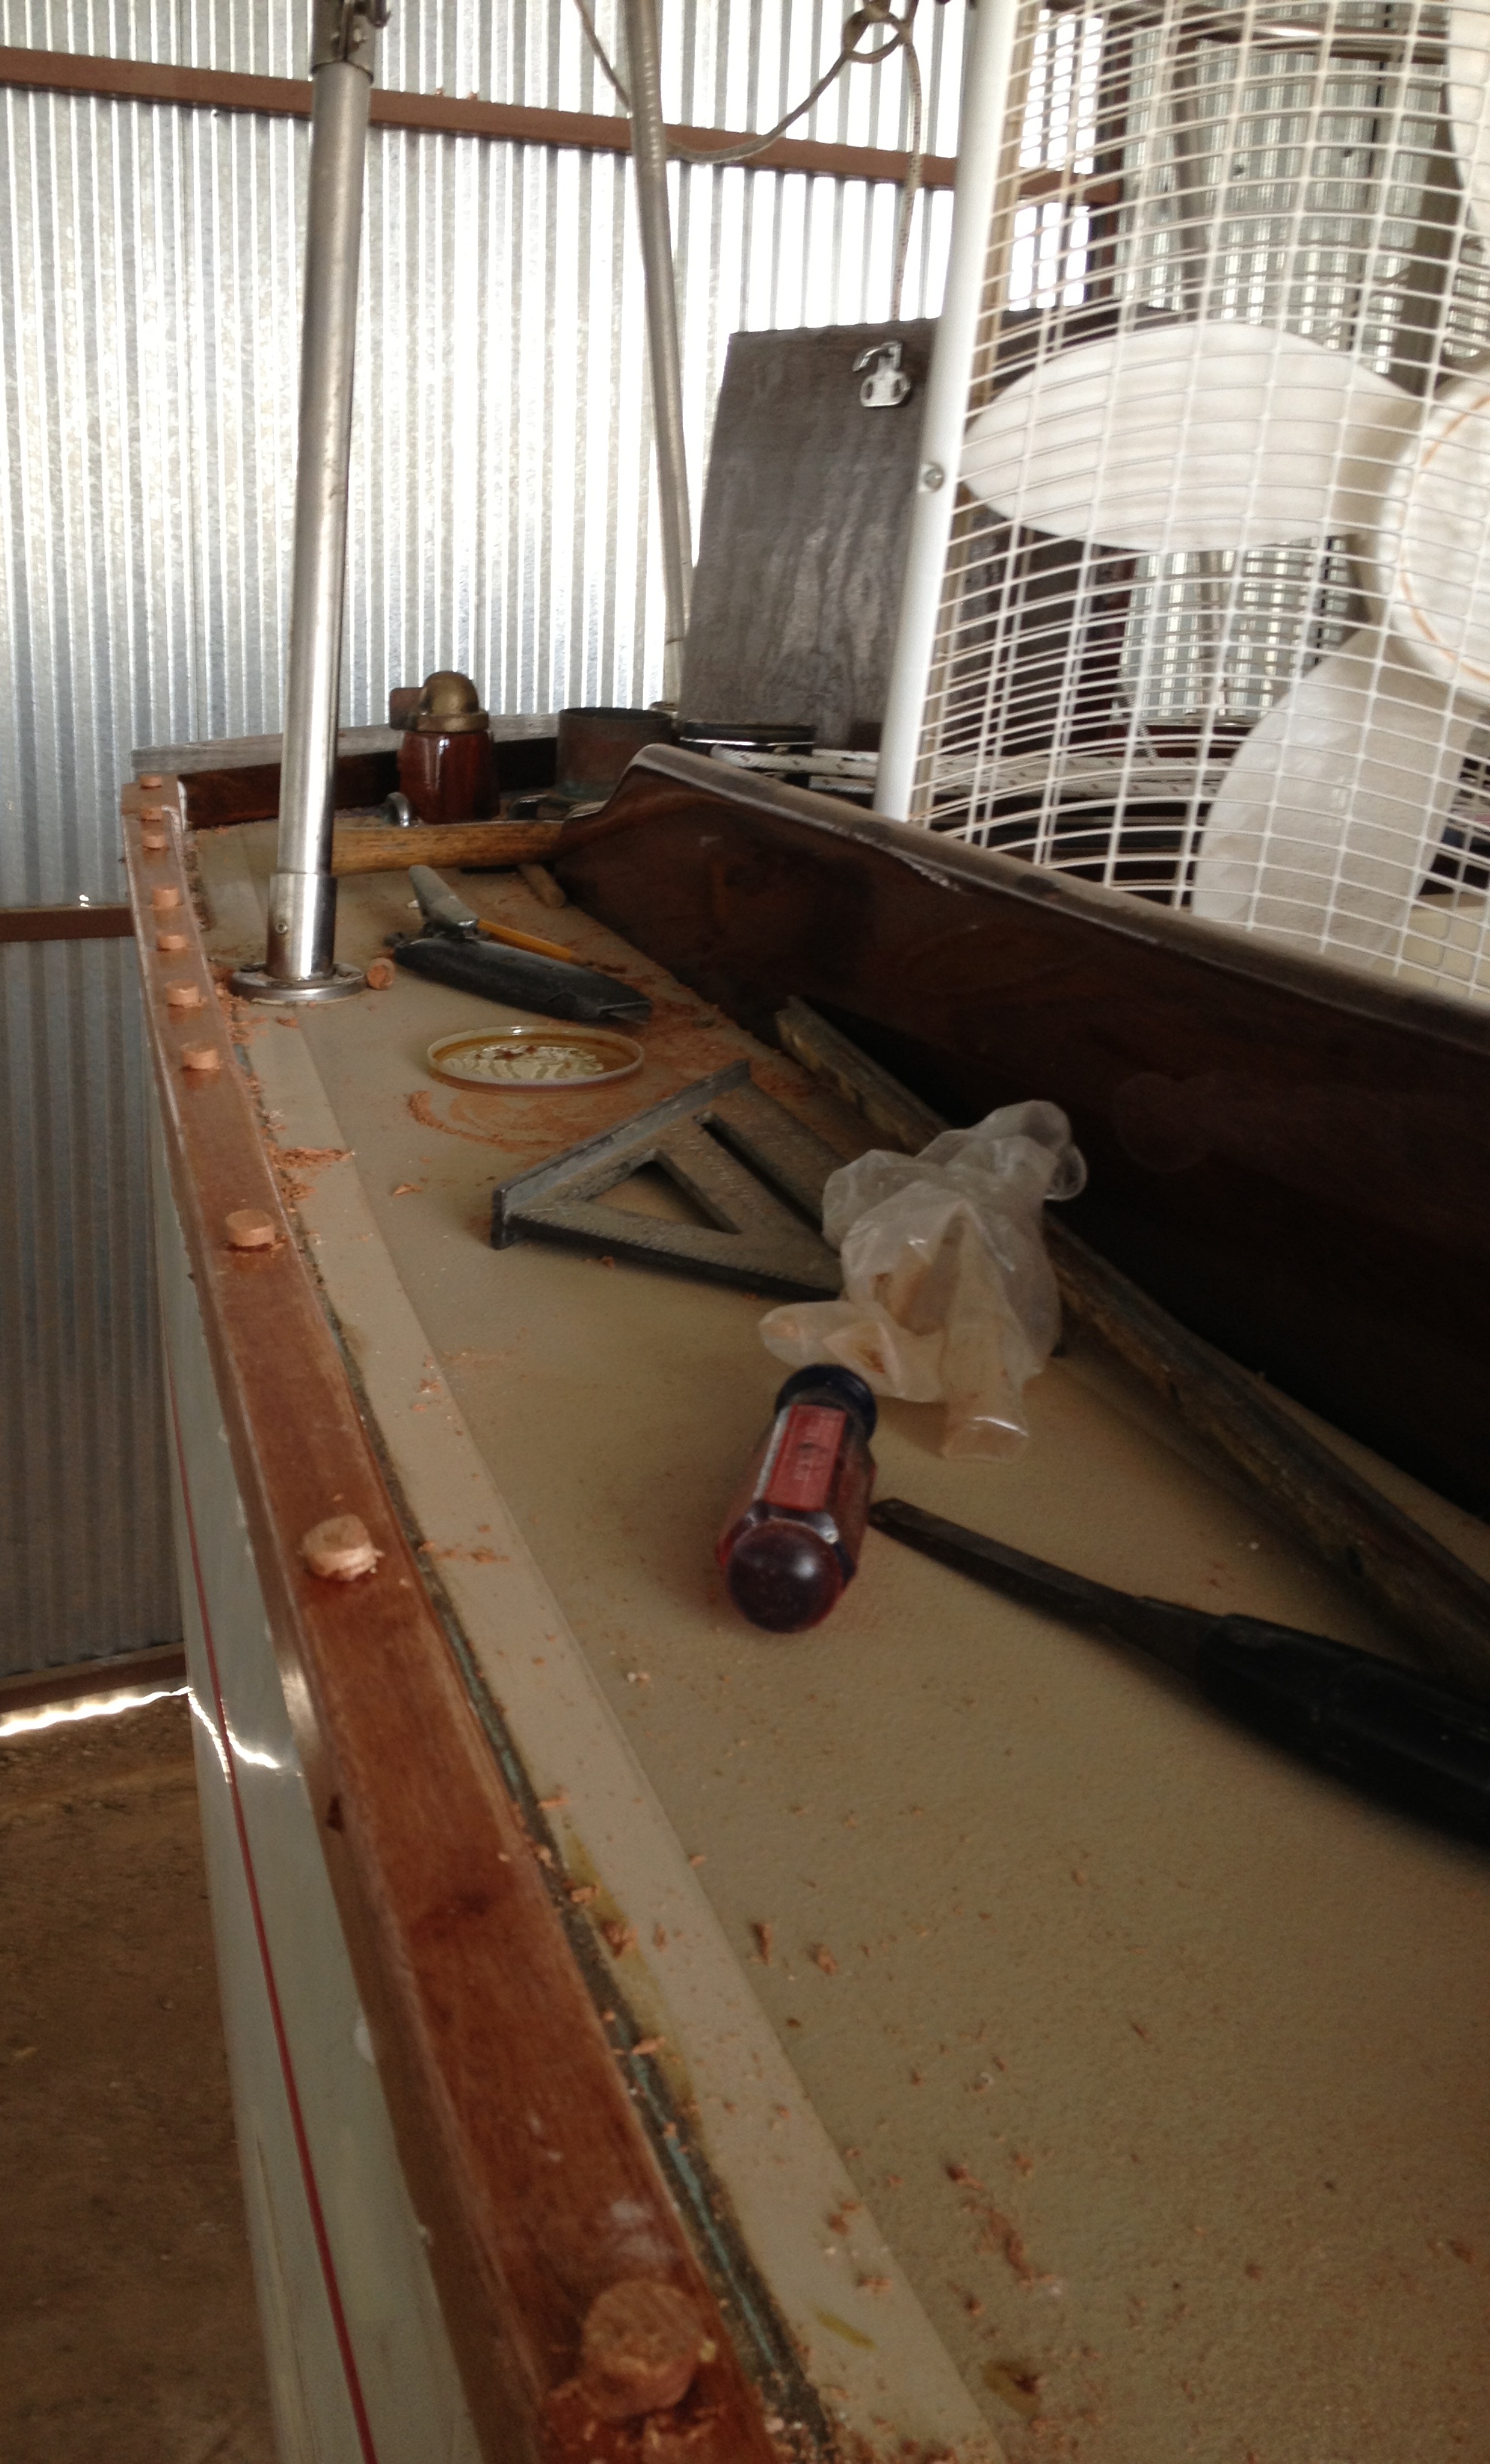
The starboard rail has been glued up, sealed, fitted, caulked, drilled, screwed, and plugged. Some final shaping mid ship and then varnish will finish that side off. The genny track will be added last, after both the rails are mounted.
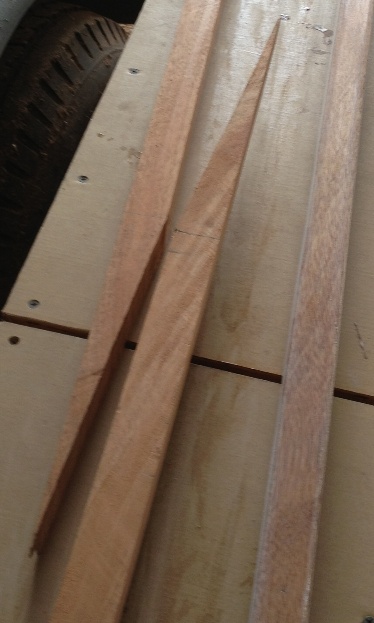
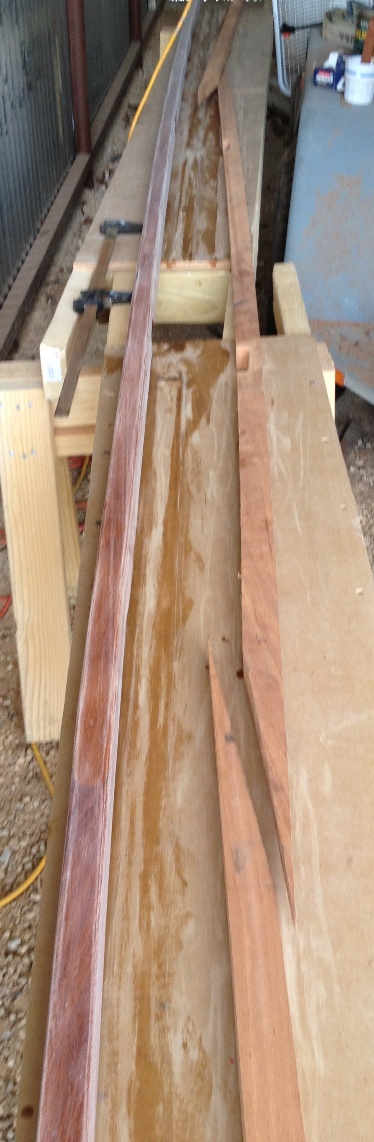
This week I will glue up the port rail. It is in three pieces and will have 11:1 scarf joints
|
|
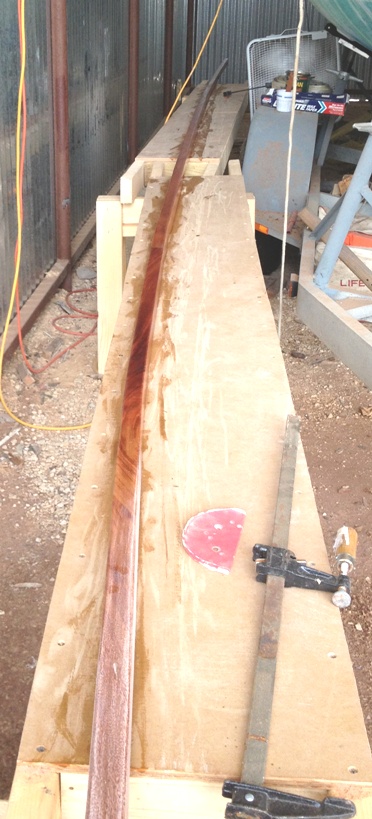
My initial rail stock was nine(9) feet long which will give me a 25' 4" long rail. I only cut 4 scuppers in each rail. The old rail had 5 but one was way up forward and wouldn't do much for removing water from the deck.
After the sanding and sealing I will spring in the rail for a dry fit and then the drilling caulking and plugging will commence.
I've thrown in a few photos. Feel free to toss out any or all. (No way - good stuff...)
Jerry
|
Click on the pictures for a larger view
June 23, 2014 Postscript - one more picture, email excerpted
My daughter and I refastened the genny track which pretty much finishes off the toe rail project.
I still need to shape the breasthook and run a bead of caulking down the inside face of the toe rail.
Jerry
|
Hi Ron,
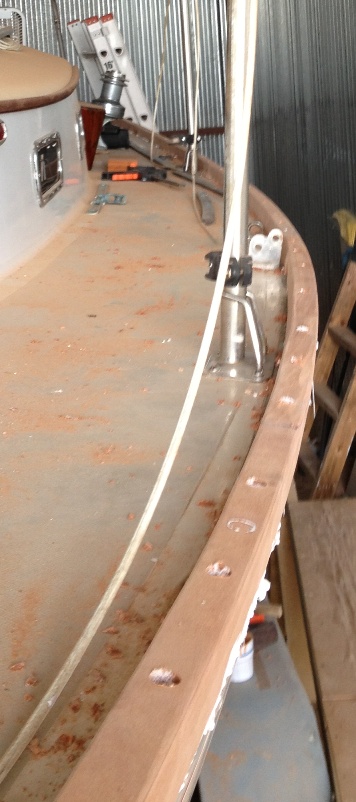
I thought I would check in even though not much has happened. I got the port side rail glued up, sanded and sprung in. I also worked on the breasthook but it will not be finished for awhile. I've got to make 50 bungs using scrap rail material and those will go in this week. I'm setting the bungs in varnish rather than gluing them in. This makes for easier removal if needed (heaven forbid).
The ginny track will be bolted on next. Then we will have to sit back, with a beer of course, and see where we go next.
Jerry
*******************************
July 8, 2014. Genoa track installed. Jerry email below left excerpted
|
*************************
|
|